Well it's getting to be that time of season again (actually we should
have been further ahead by now) This year we are going more for
boodocking machines and have decided on the Phazer. We are building one
as a slightly modified machine, with a longer track and a few upgrades,
and of course a nice paint job. The other is being built as a
supercharged machine with a fairly lengthy list of mods and a couple
tricks up our sleeves as well. The end result should be a couple of very
fun and capable boodocking machines! Follow along as we build these
machines up!
 |
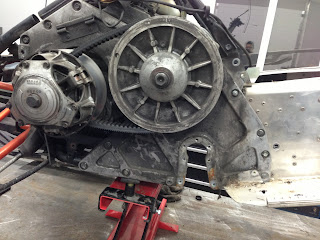
| So the first thing to arrive was our supercharger, we located this used online. There have been a couple things done to it that we will be changing but overall a great find! |
 |
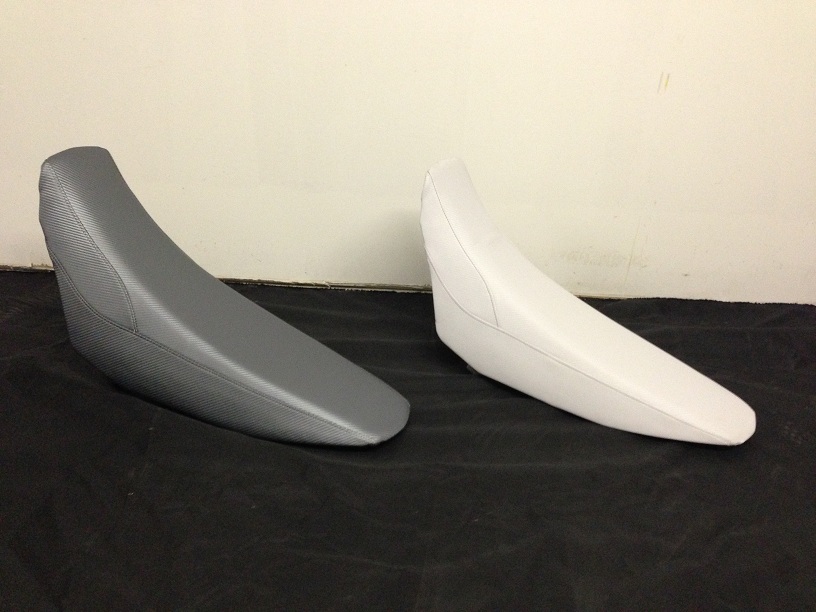
| We had our sewing department sew up some custom seat covers out of a carbon fiber finished fabric, one in white and one in grey. |
 |
| We liked the covers so much that we ended up putting them into production, we only offer the grey and white carbon finish and they retail for $229.00 |
 |
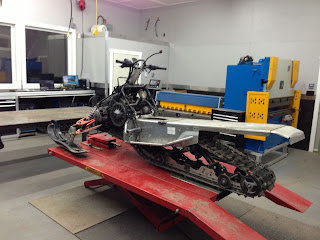
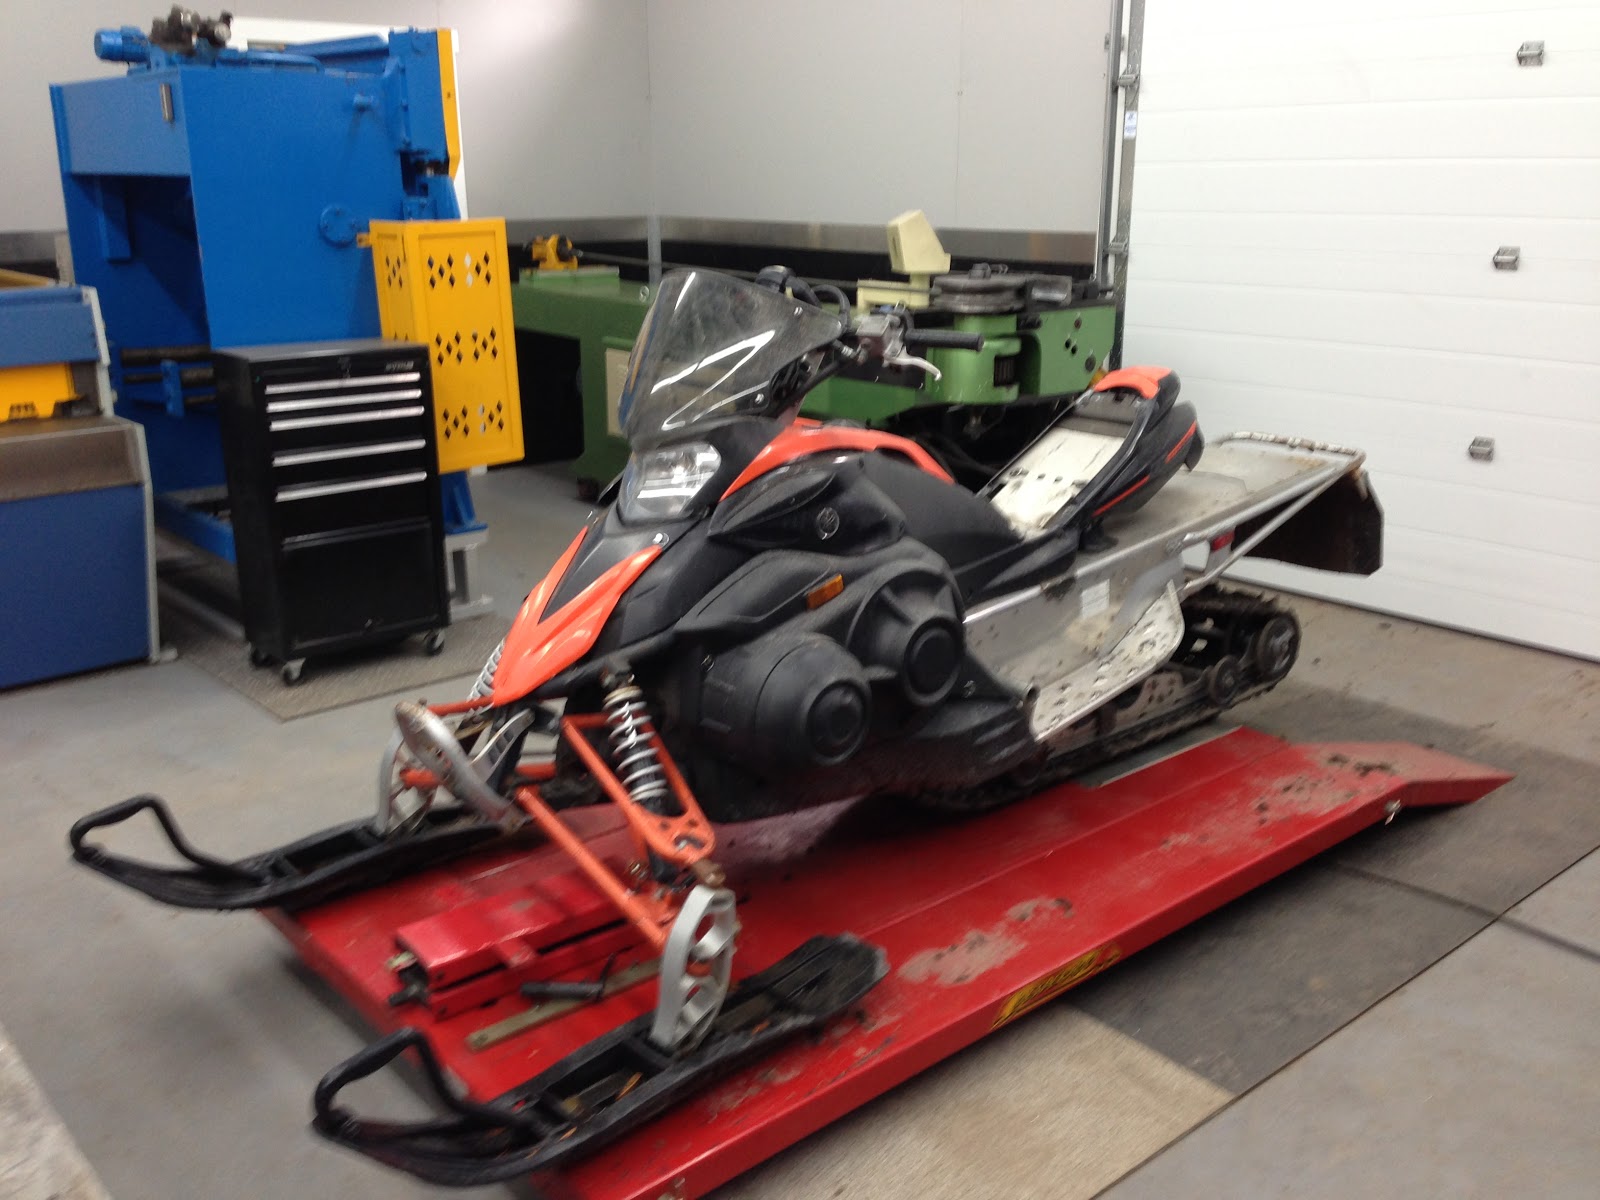
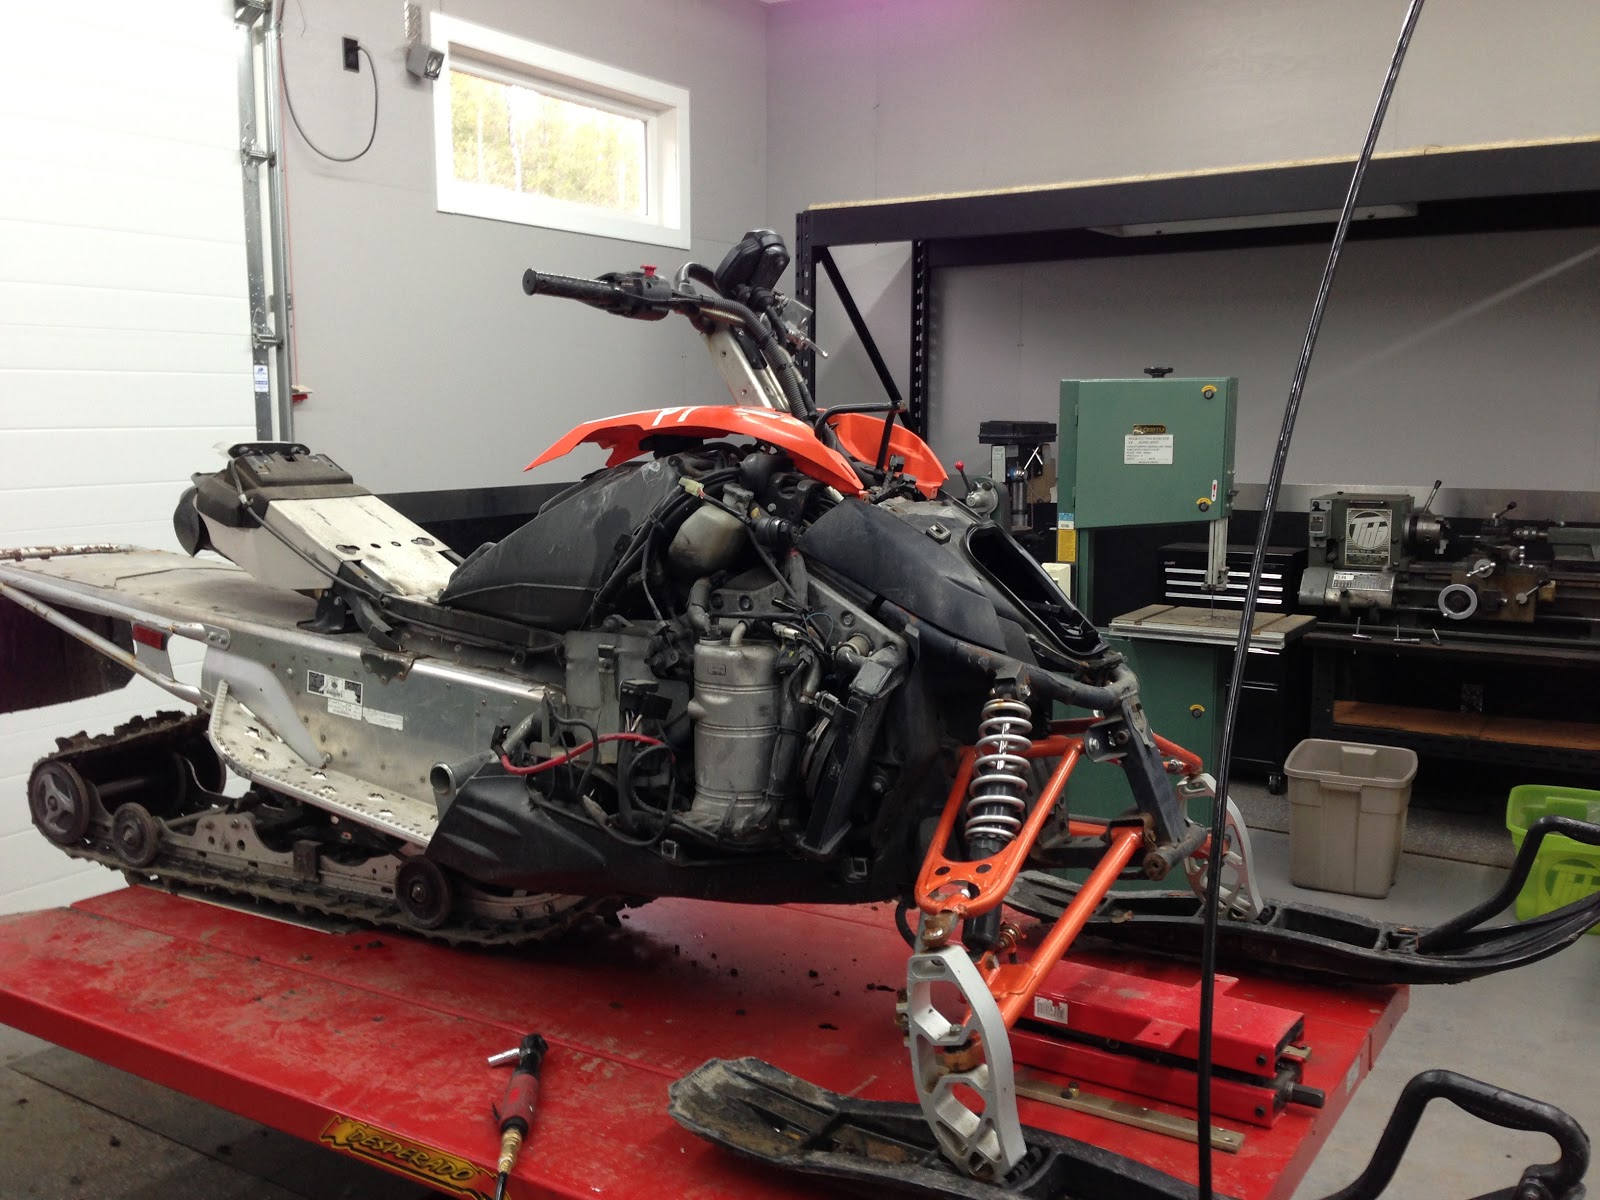
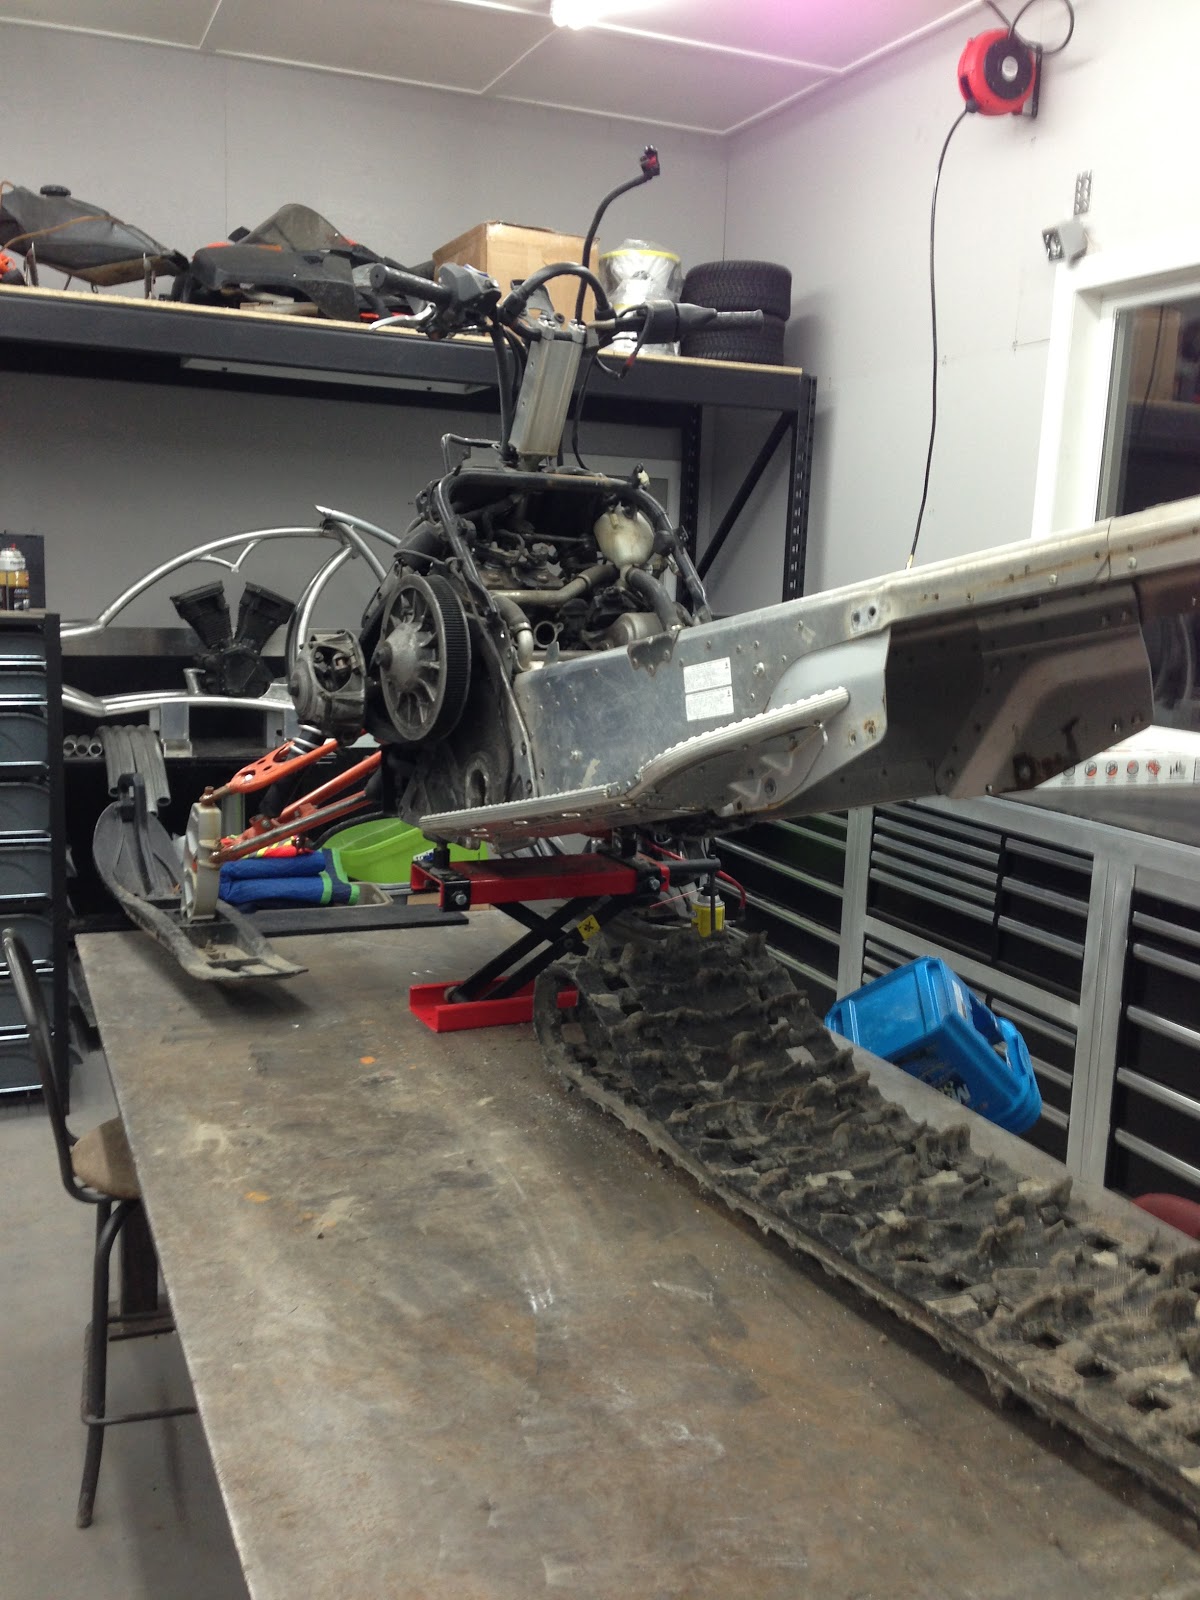
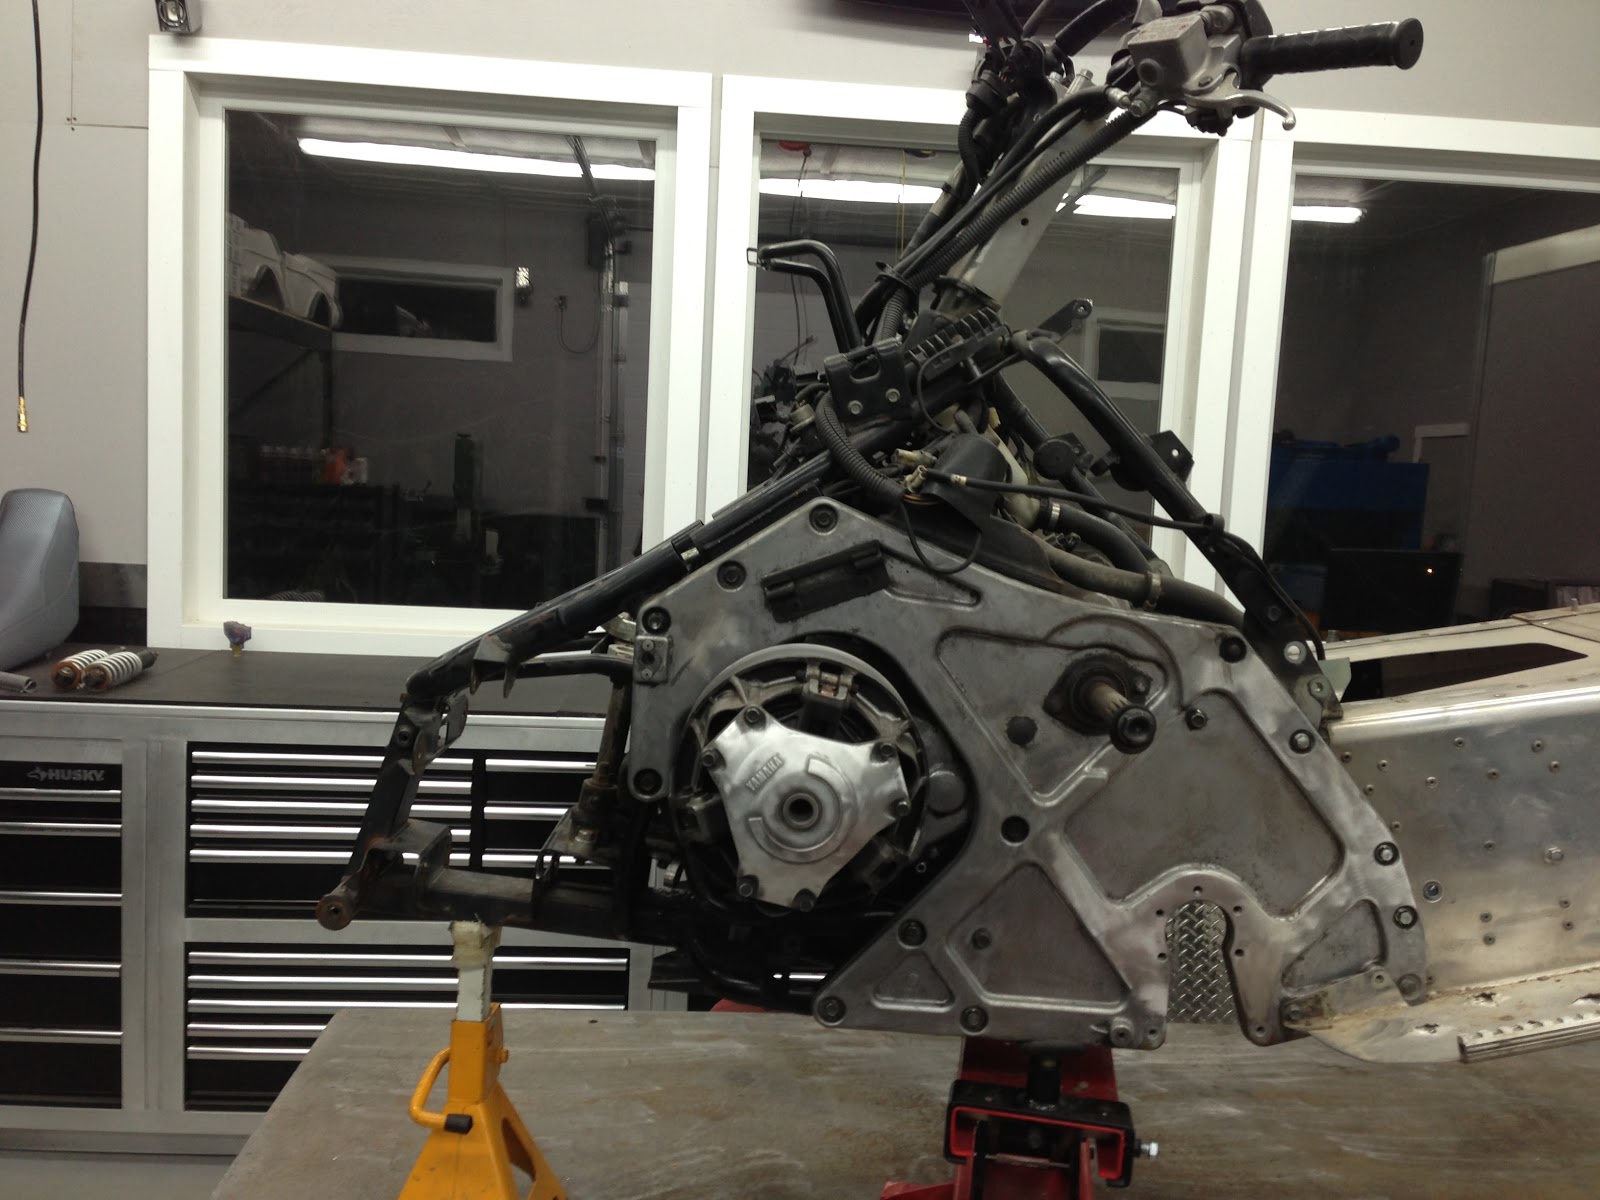
| The first of the two to go on the lift and start the tear down, this one will be the non super charged machine |
|
 |
| Starting to pull panels off |
 |
| The parts are starting to pile up, a lot of them won't be going back on |
 |
| We already like it better without the rear tube support/bumper |
 |
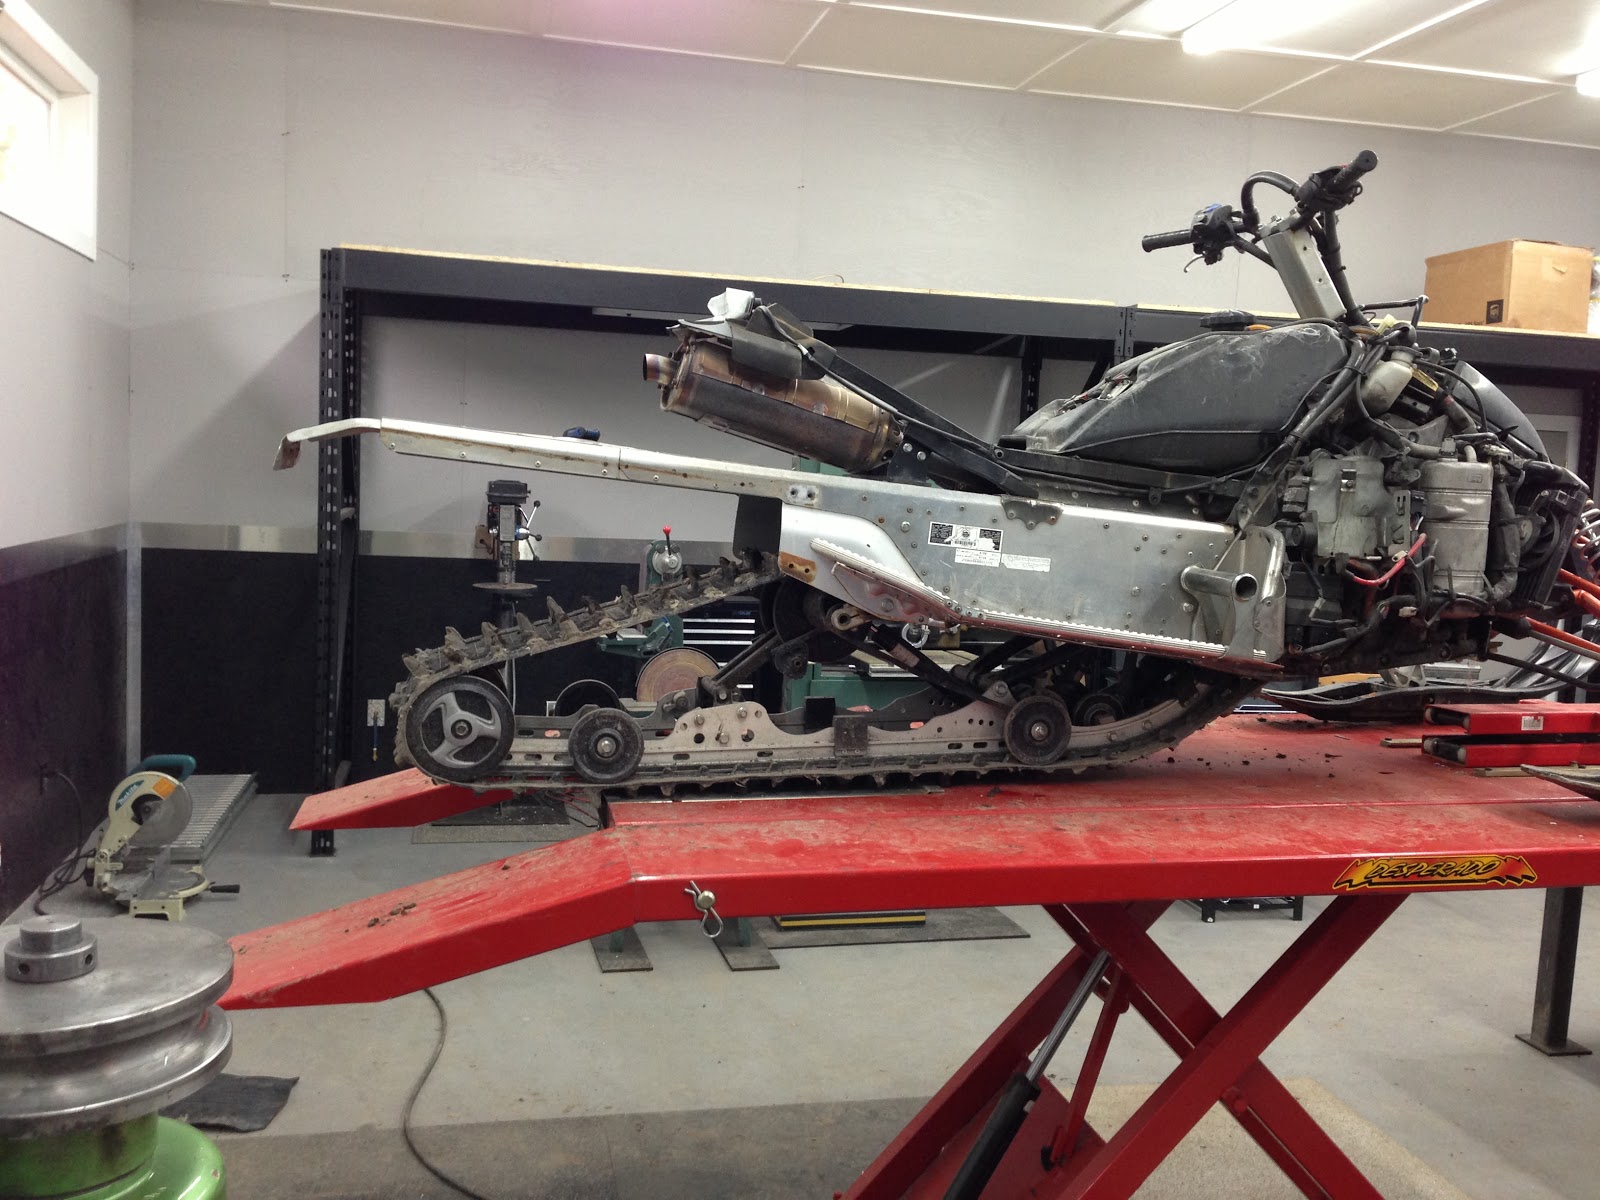
| Exhaust and rear section pulled, the flex tubes were still together but the clamps were extremely loose, not bad for a machine with 14000kms/8750 miles |
|
 |
| A shot down the rough tunnel, this will be getting changed |
 |
| Overall the tear down is going well, a bit more work and then we can start with the fun stuff!! |
 |
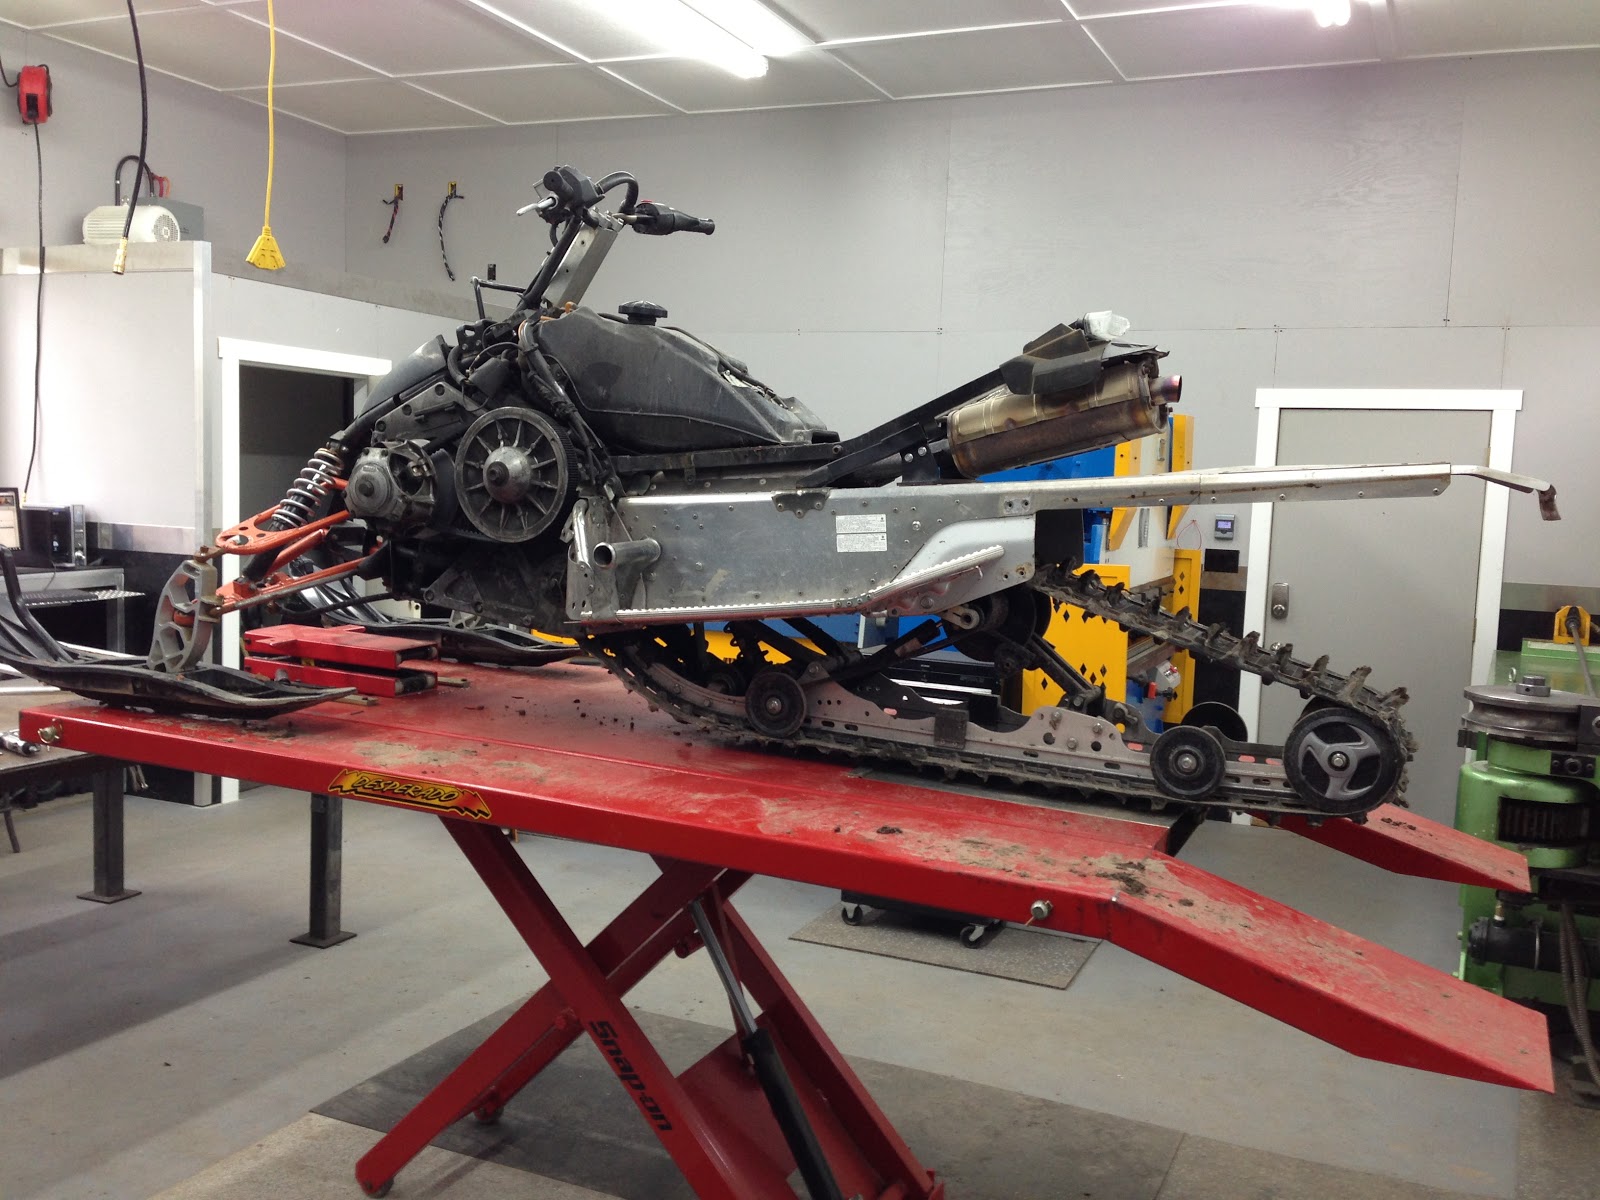
| Here you can see we have removed the feet hoops |
 |
| Getting ready to start removing the skid |
 |
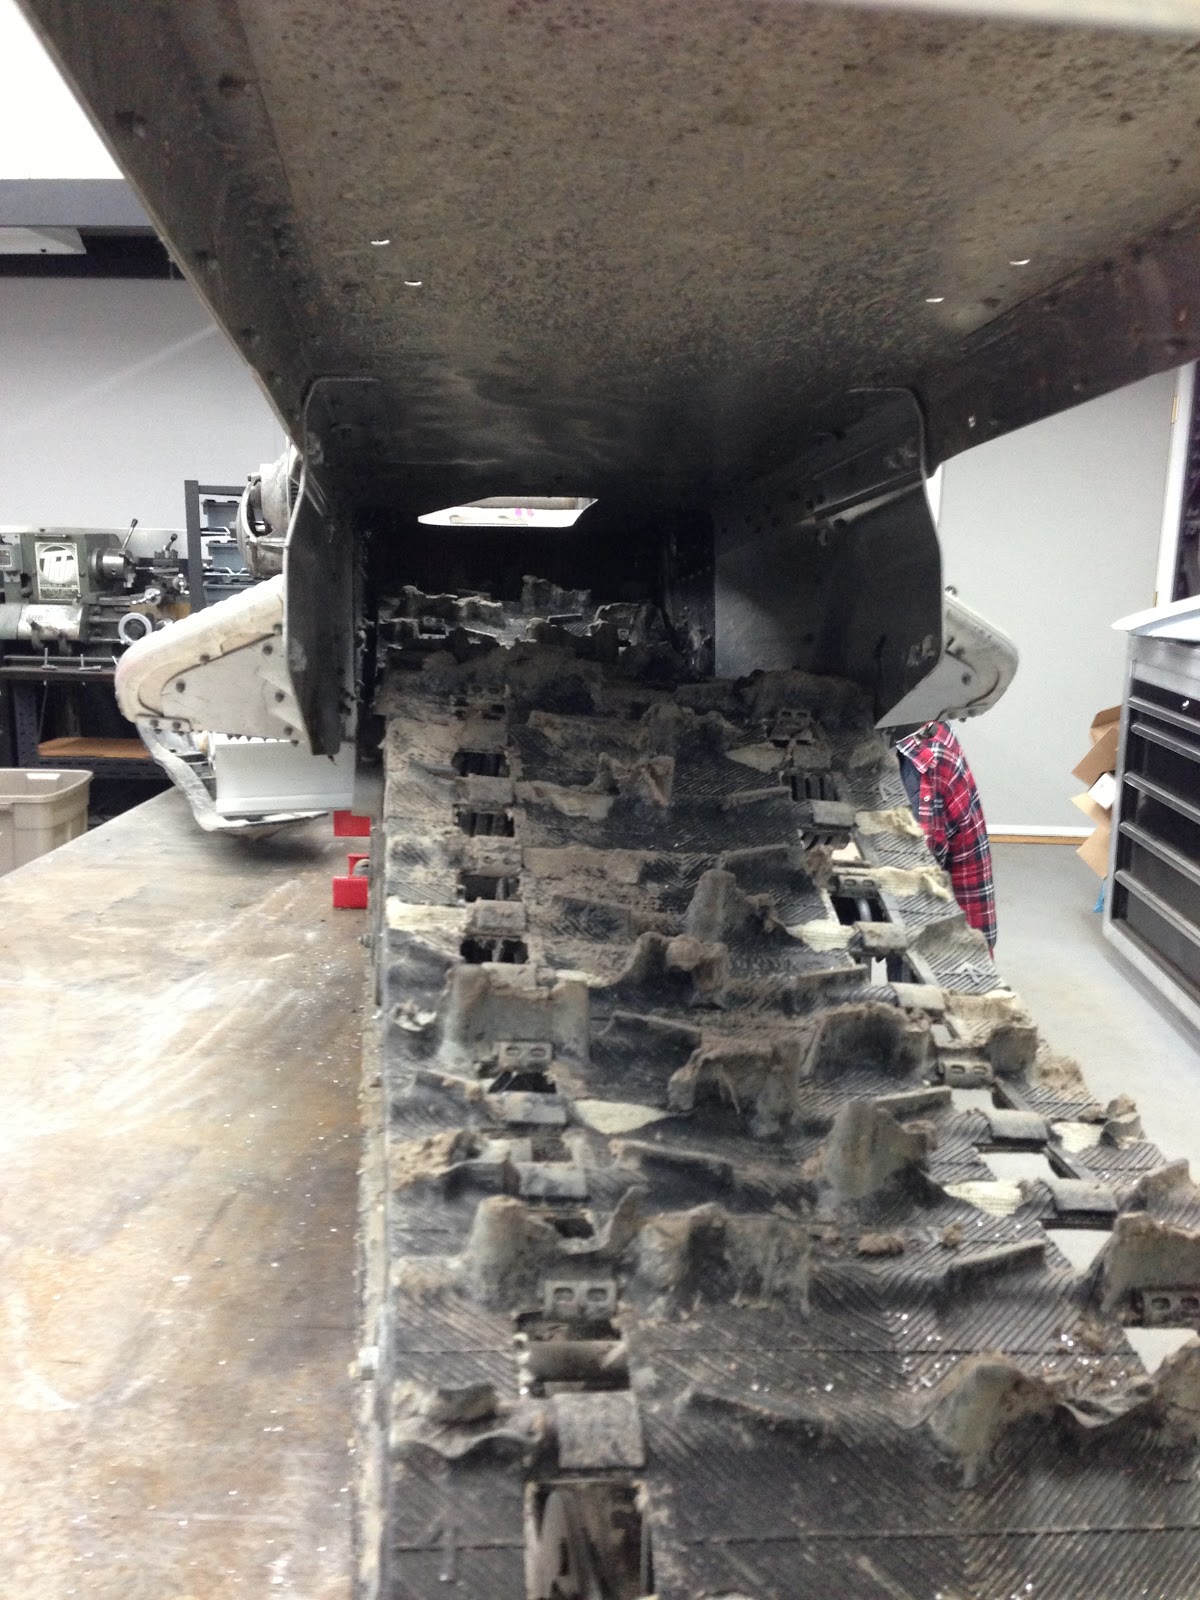
| A shot down the tunnel, looking at how beat this track is |
 |
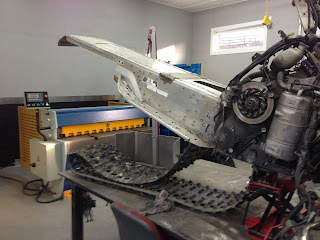
| After a bit of fooling around we managed to get the 4 skid bolts out and we are now lifting the sled off the skid |
 |
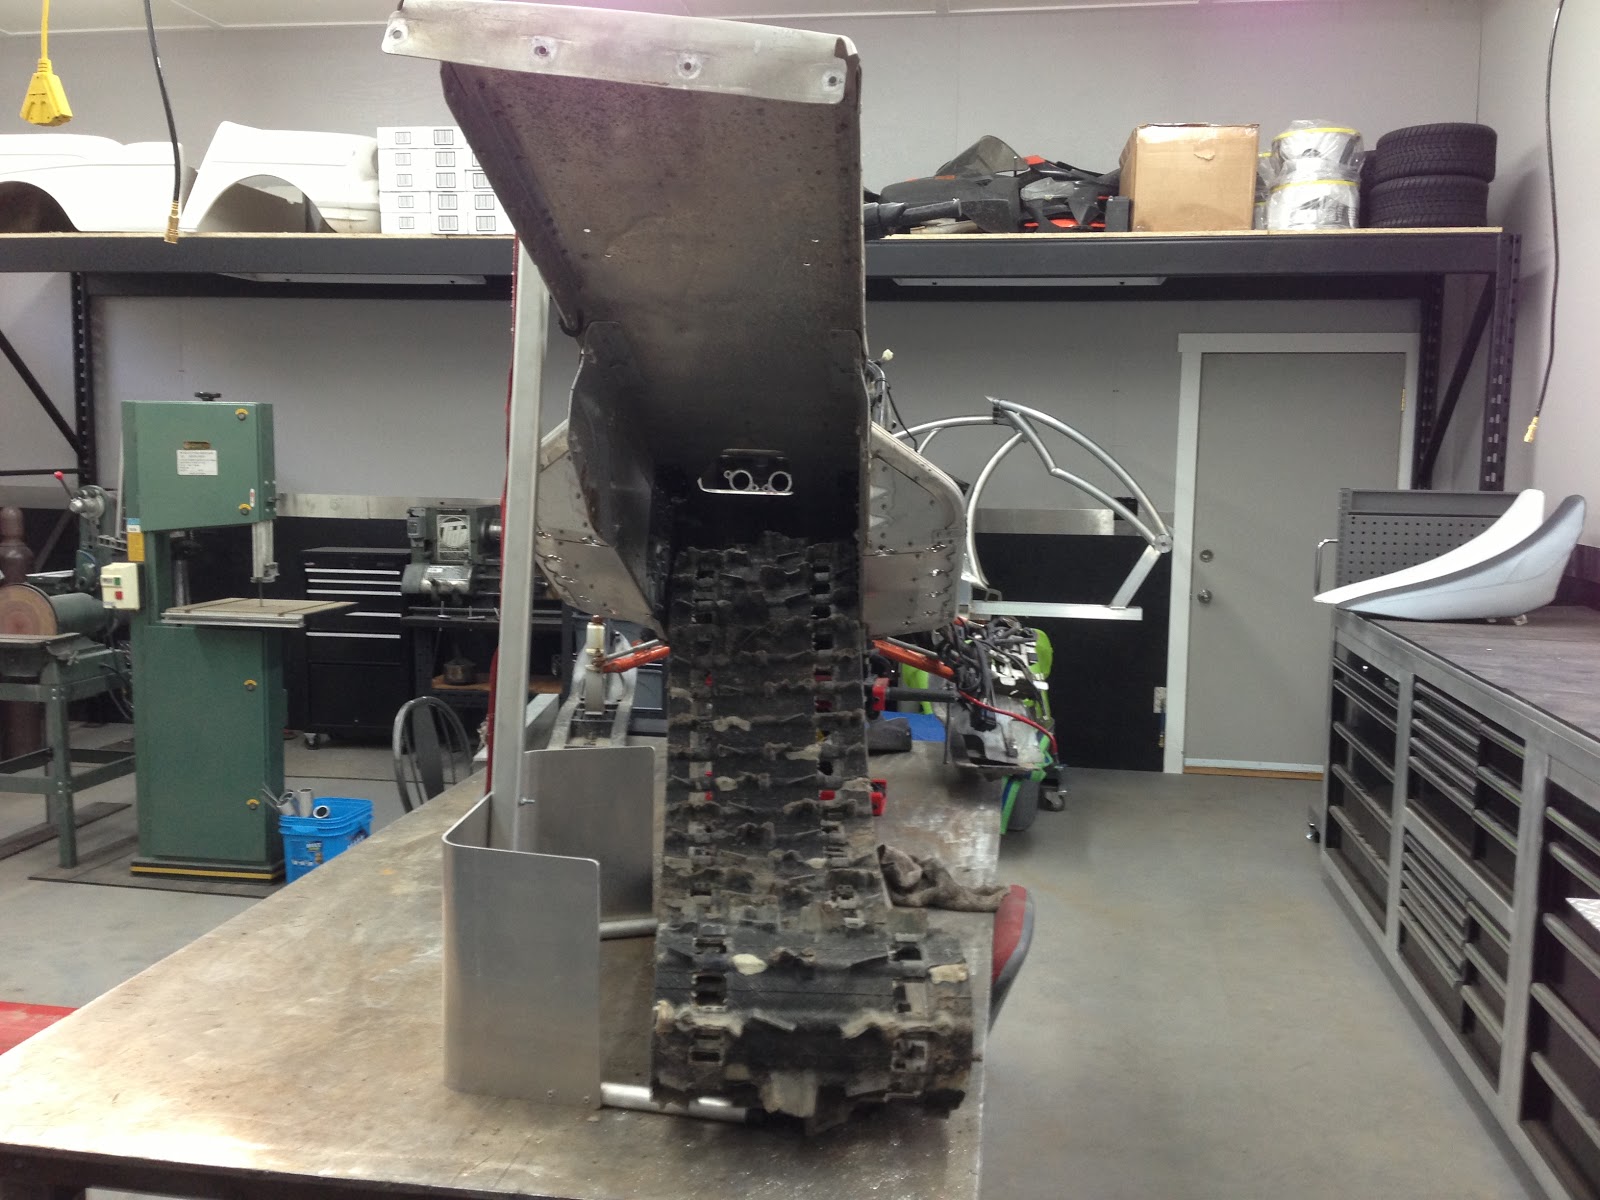
| A shot from behind, this was about the right height to be able to wiggle the skid out |
 |
| The skid is out and we are ready to start pulling the track out |
 |
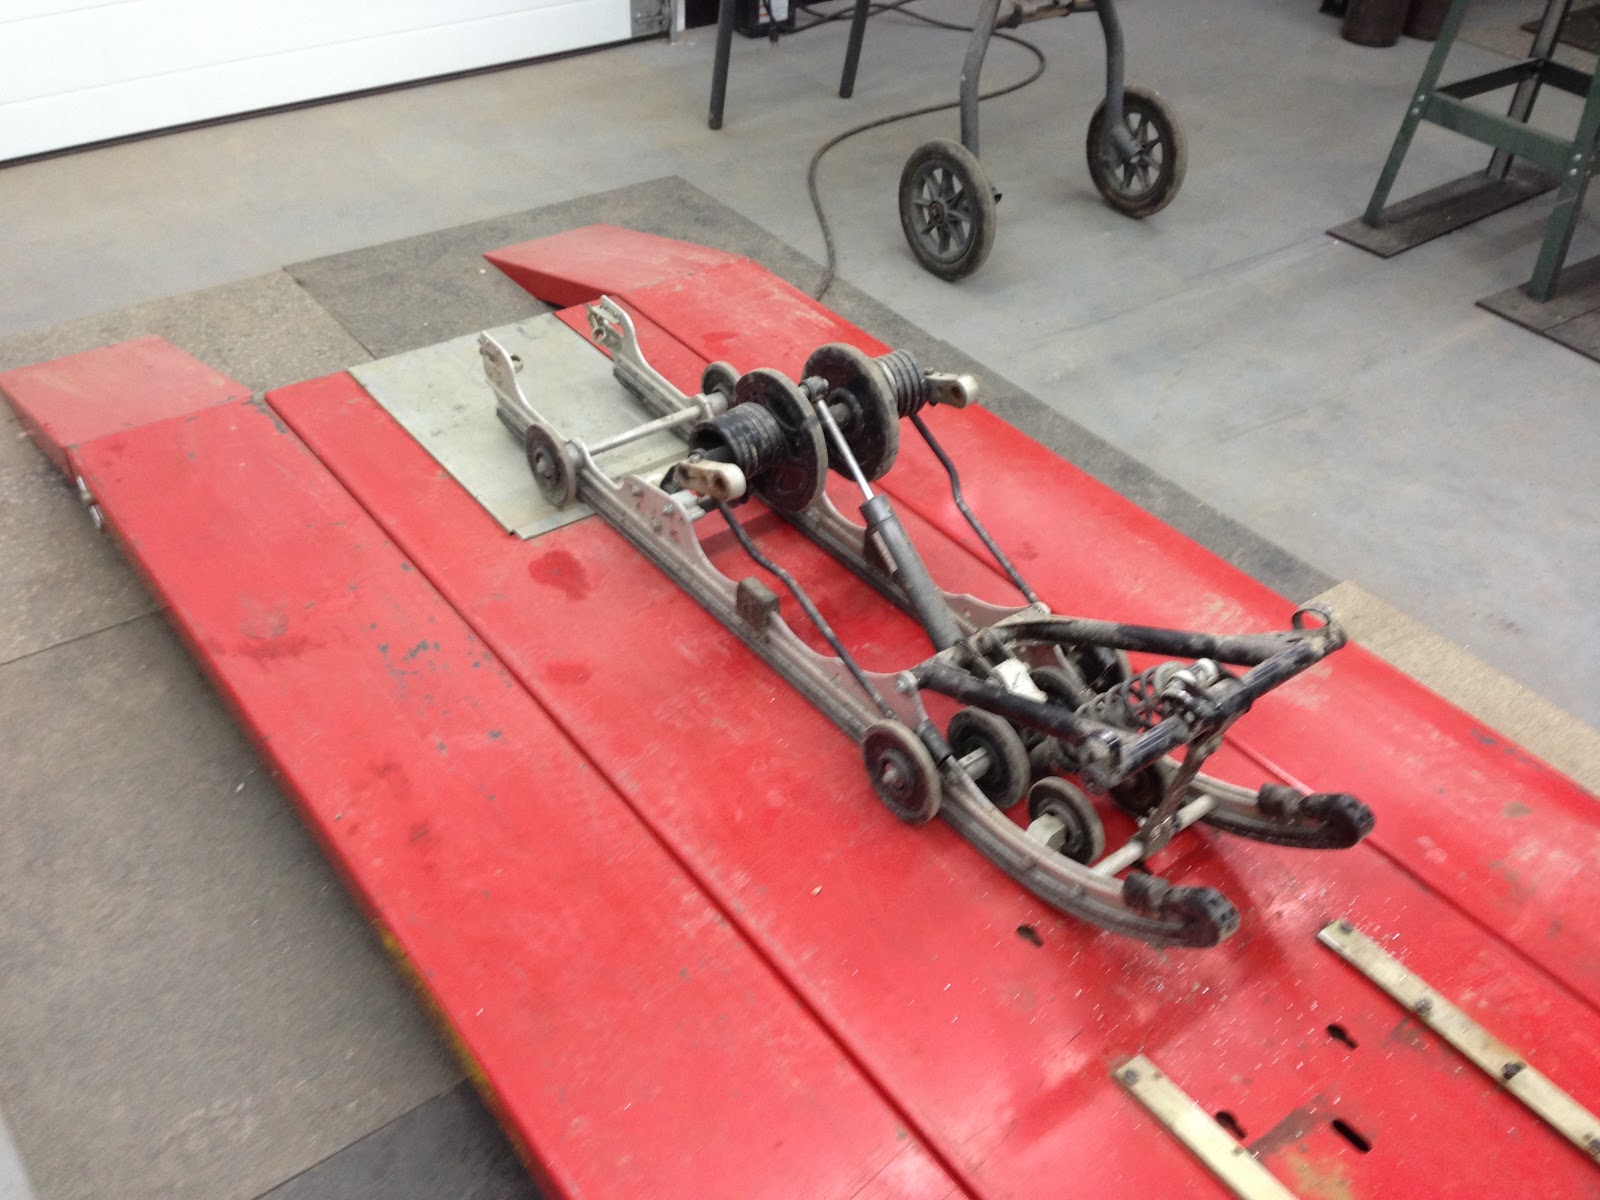
| Skid sitting on the lift, ready to be pulled apart, cleaned up and sent out for powder |
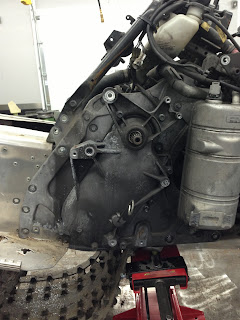 |
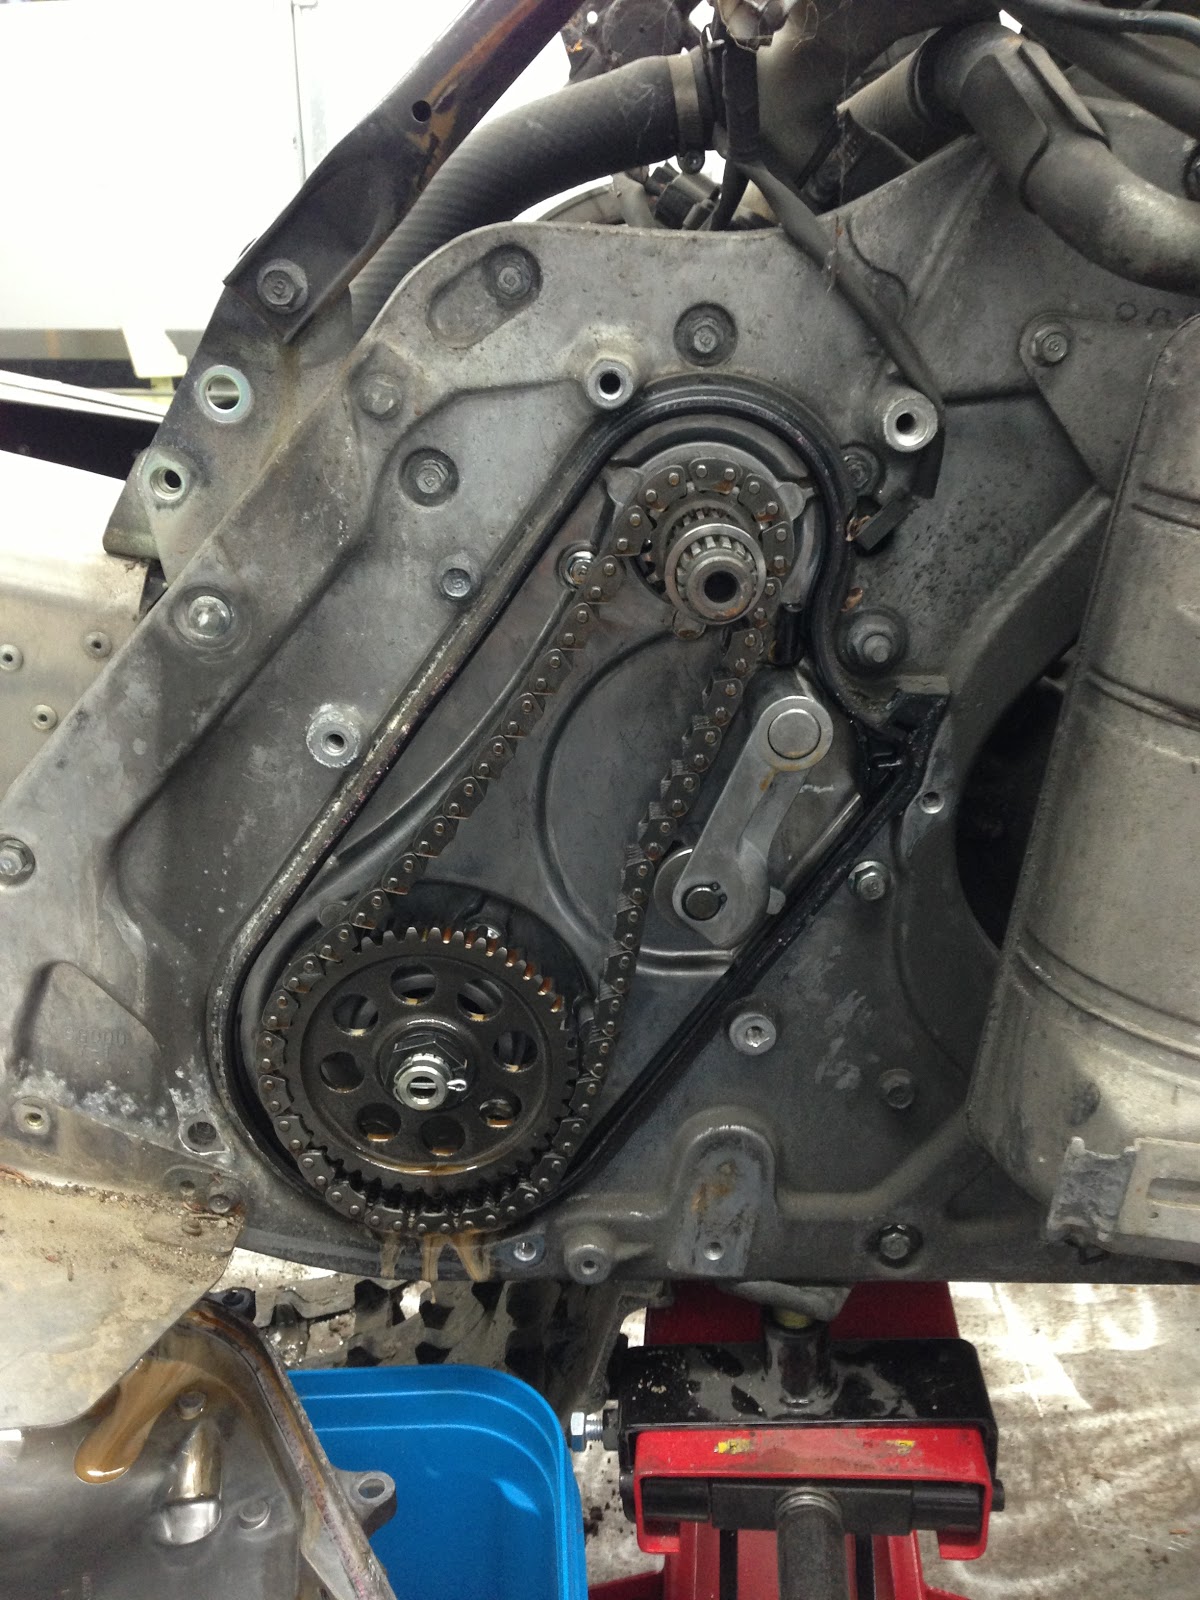
| We removed the brake setup so that we could access the chain case bolts |
 |
| Inside the chain case looks great, now to pull off the gear and chain |
 |
| Very easy job and out comes the track |
 |
| Started to clean up the bulkhead some to remove the years of grime |
 |
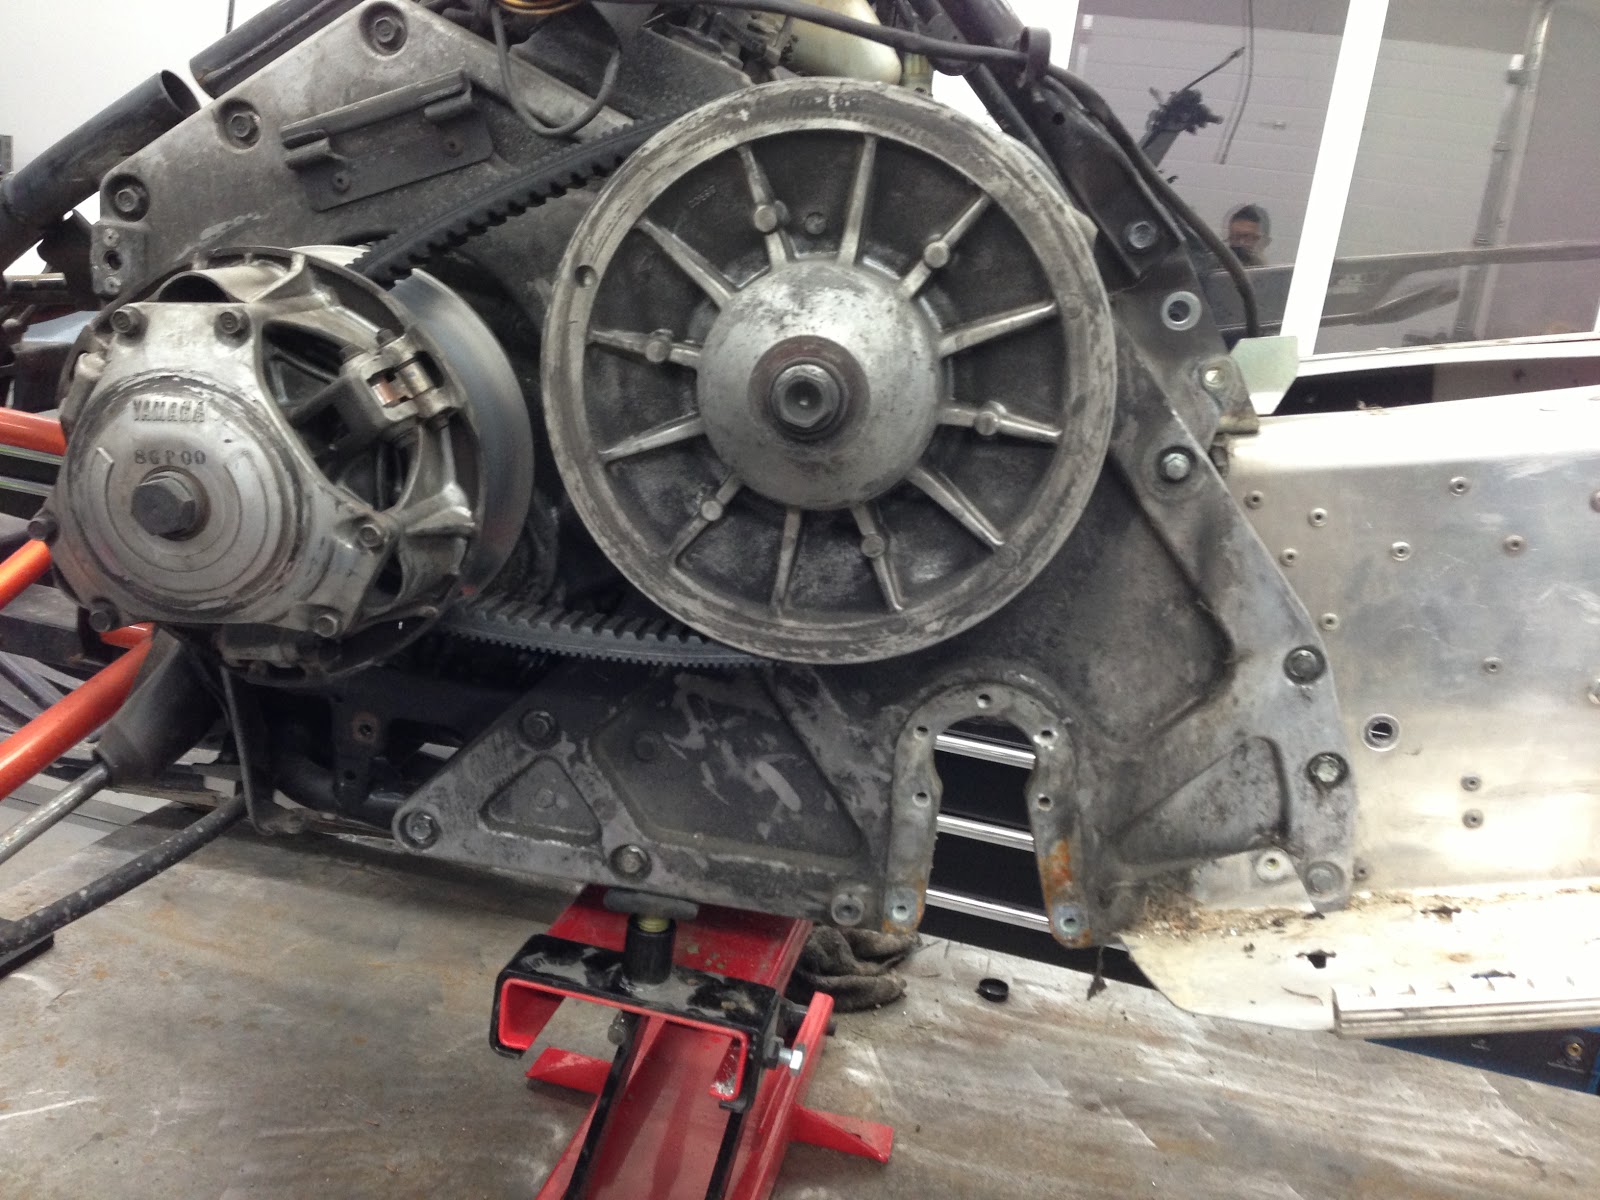
| Time to remove the clutches |
 |
| Secondary slid right off, need to pick up the primary clutch puller and then we can pop it off as well |
 |
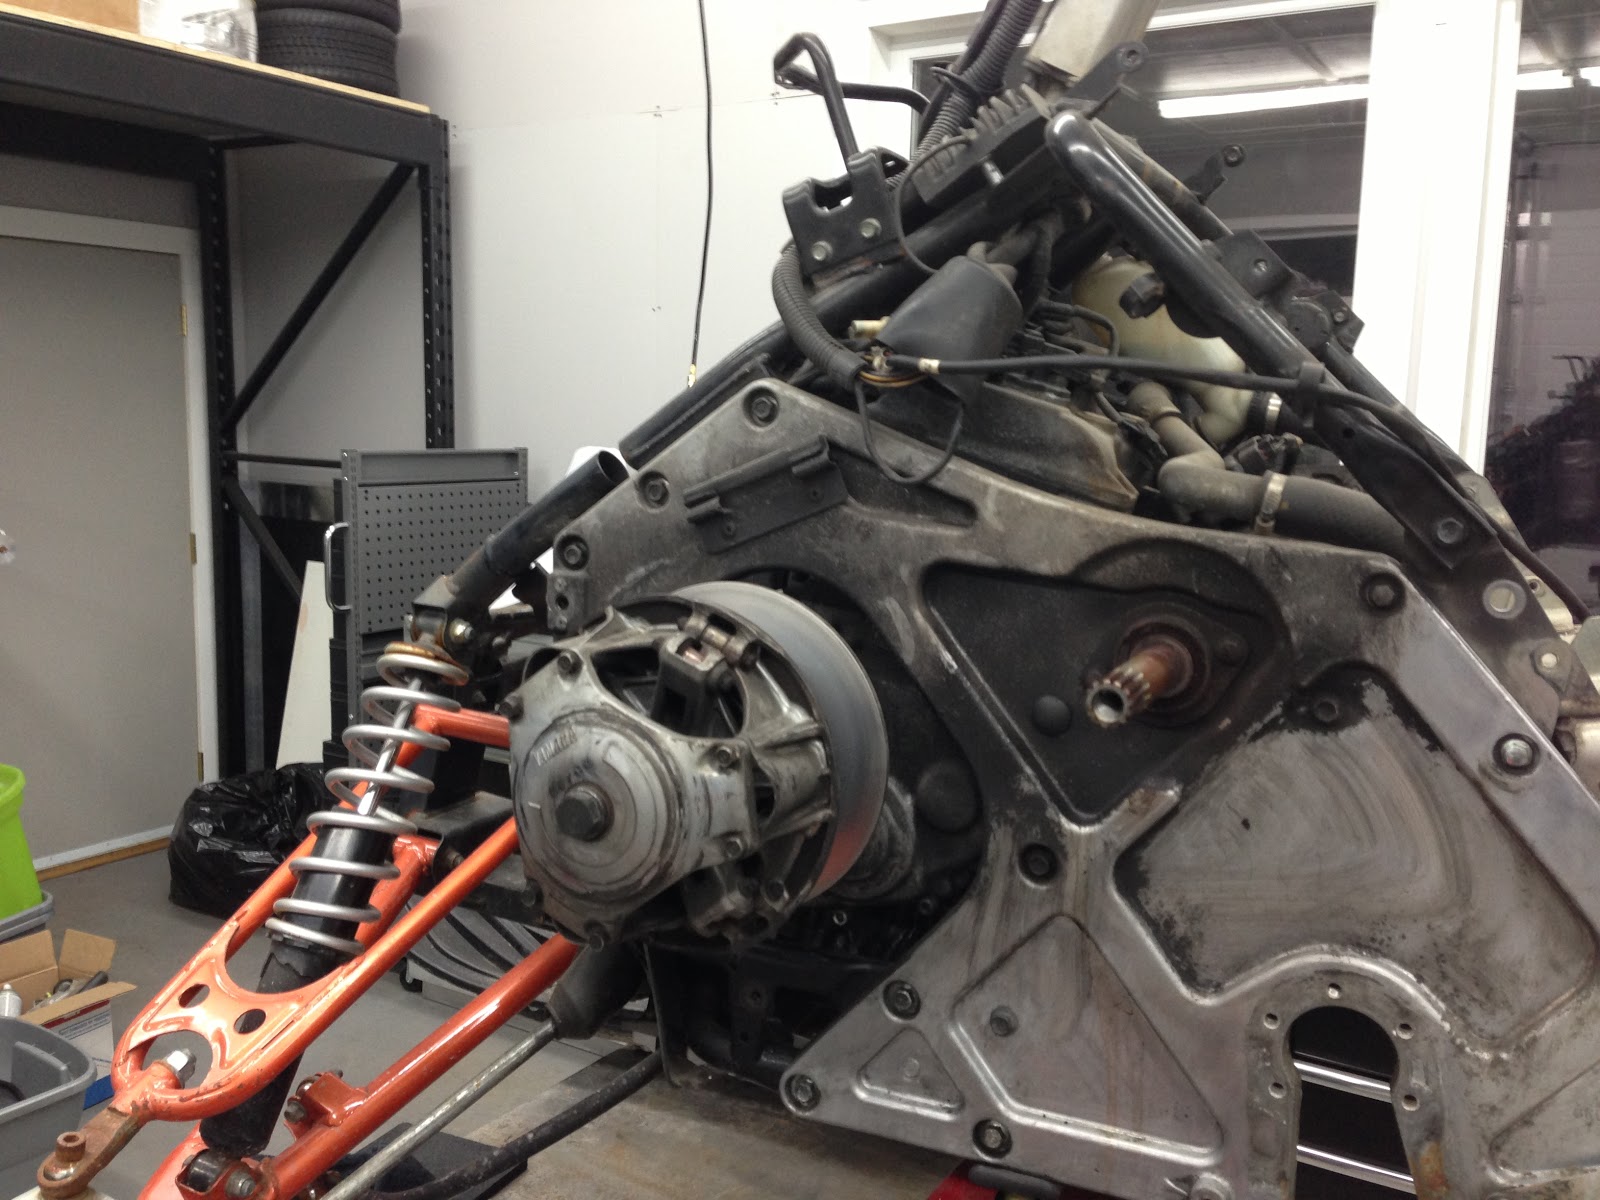
| You can see the difference with just a couple sprays of cleaner and the bulkhead looks much better already |
 |
We are now ready to pop off the primary and then we will pull off the front end, then time to start modifying the tunnel
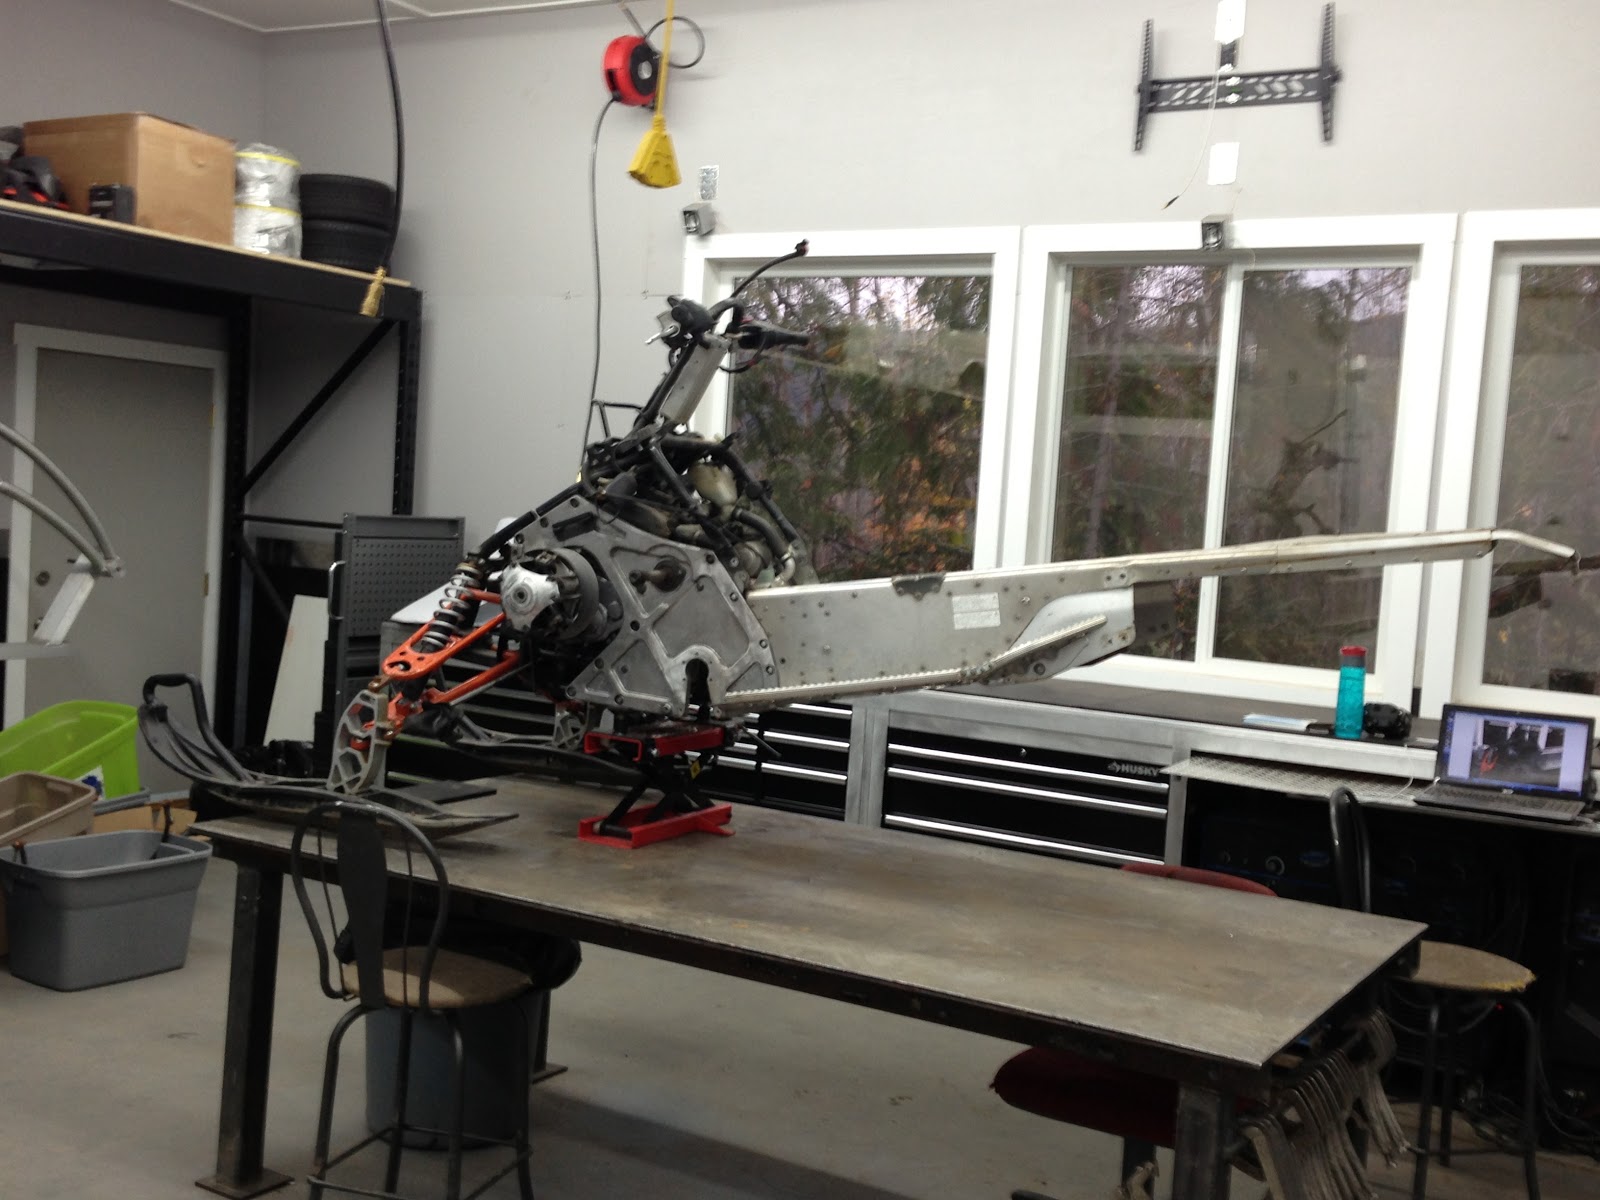
We brought the second machine in so that we could start using it as a reference for the new parts we are going to start building for the sleds. That way we will know what we can cut and modify and still have the factory body panels fit
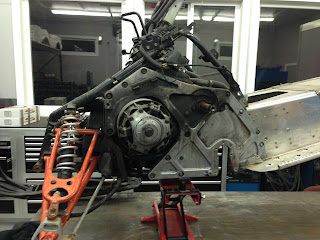
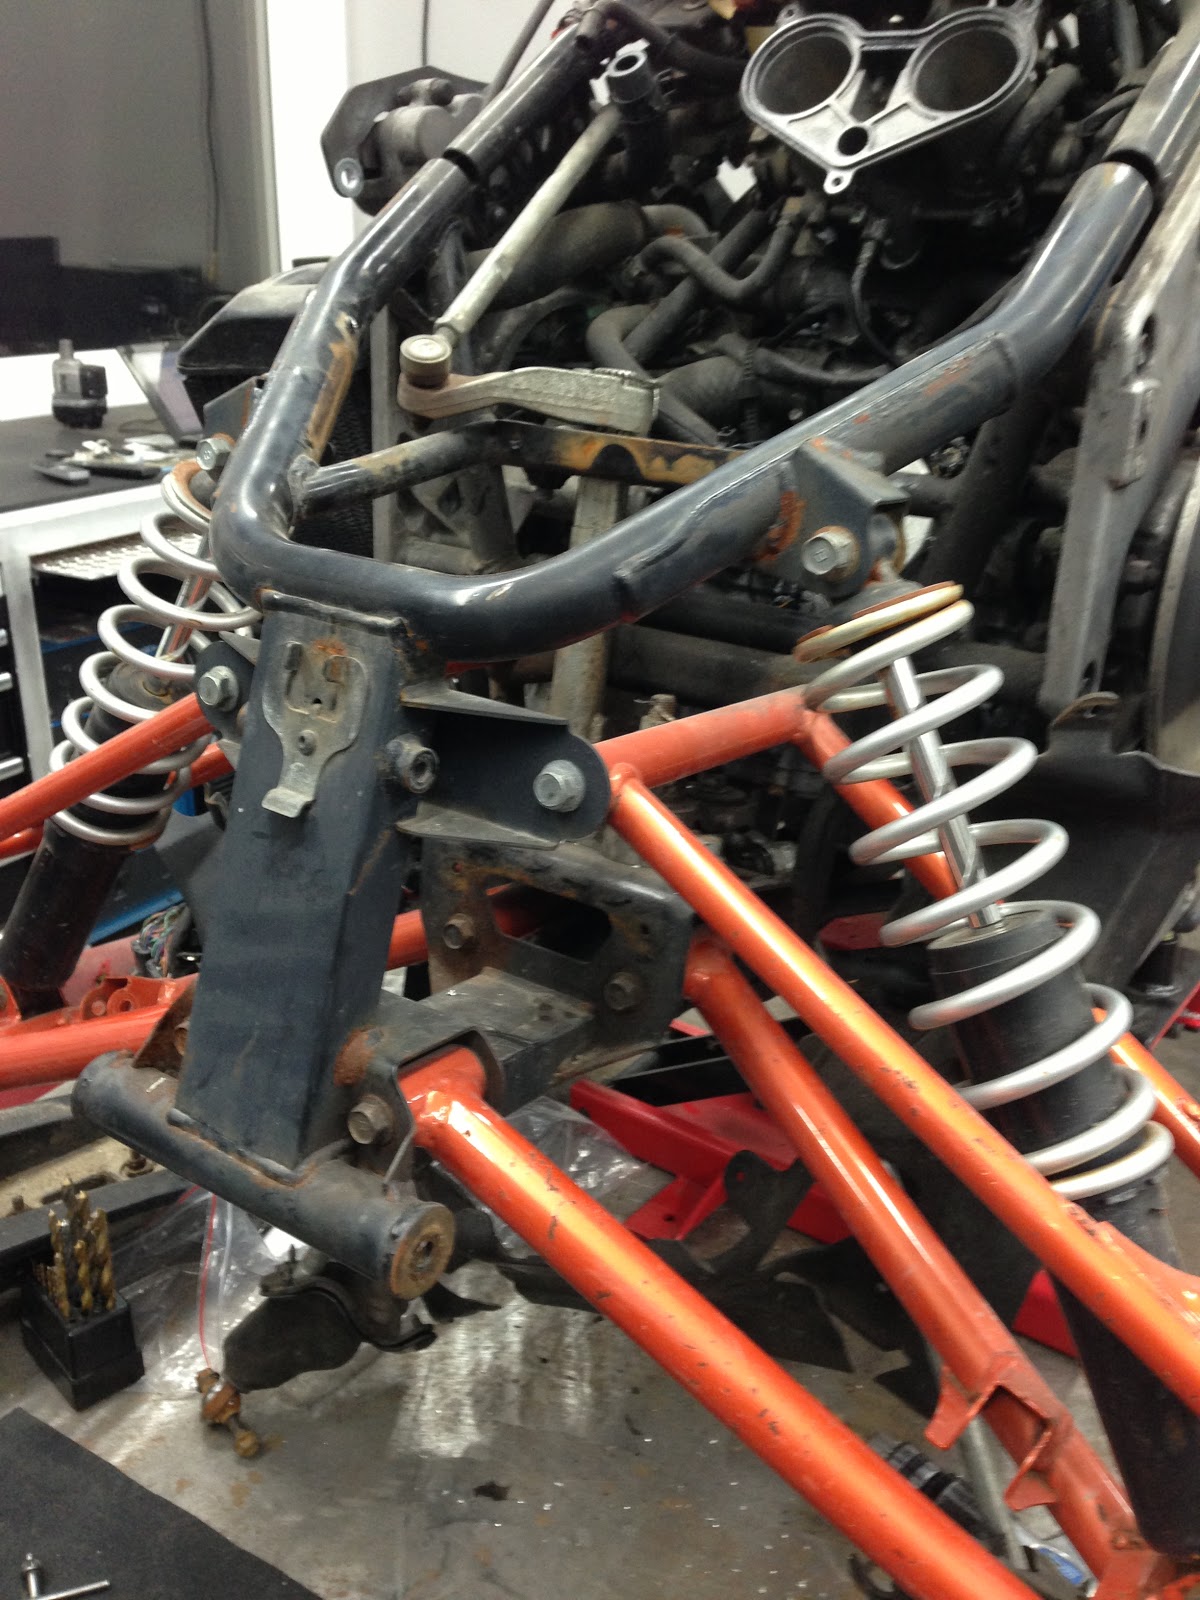
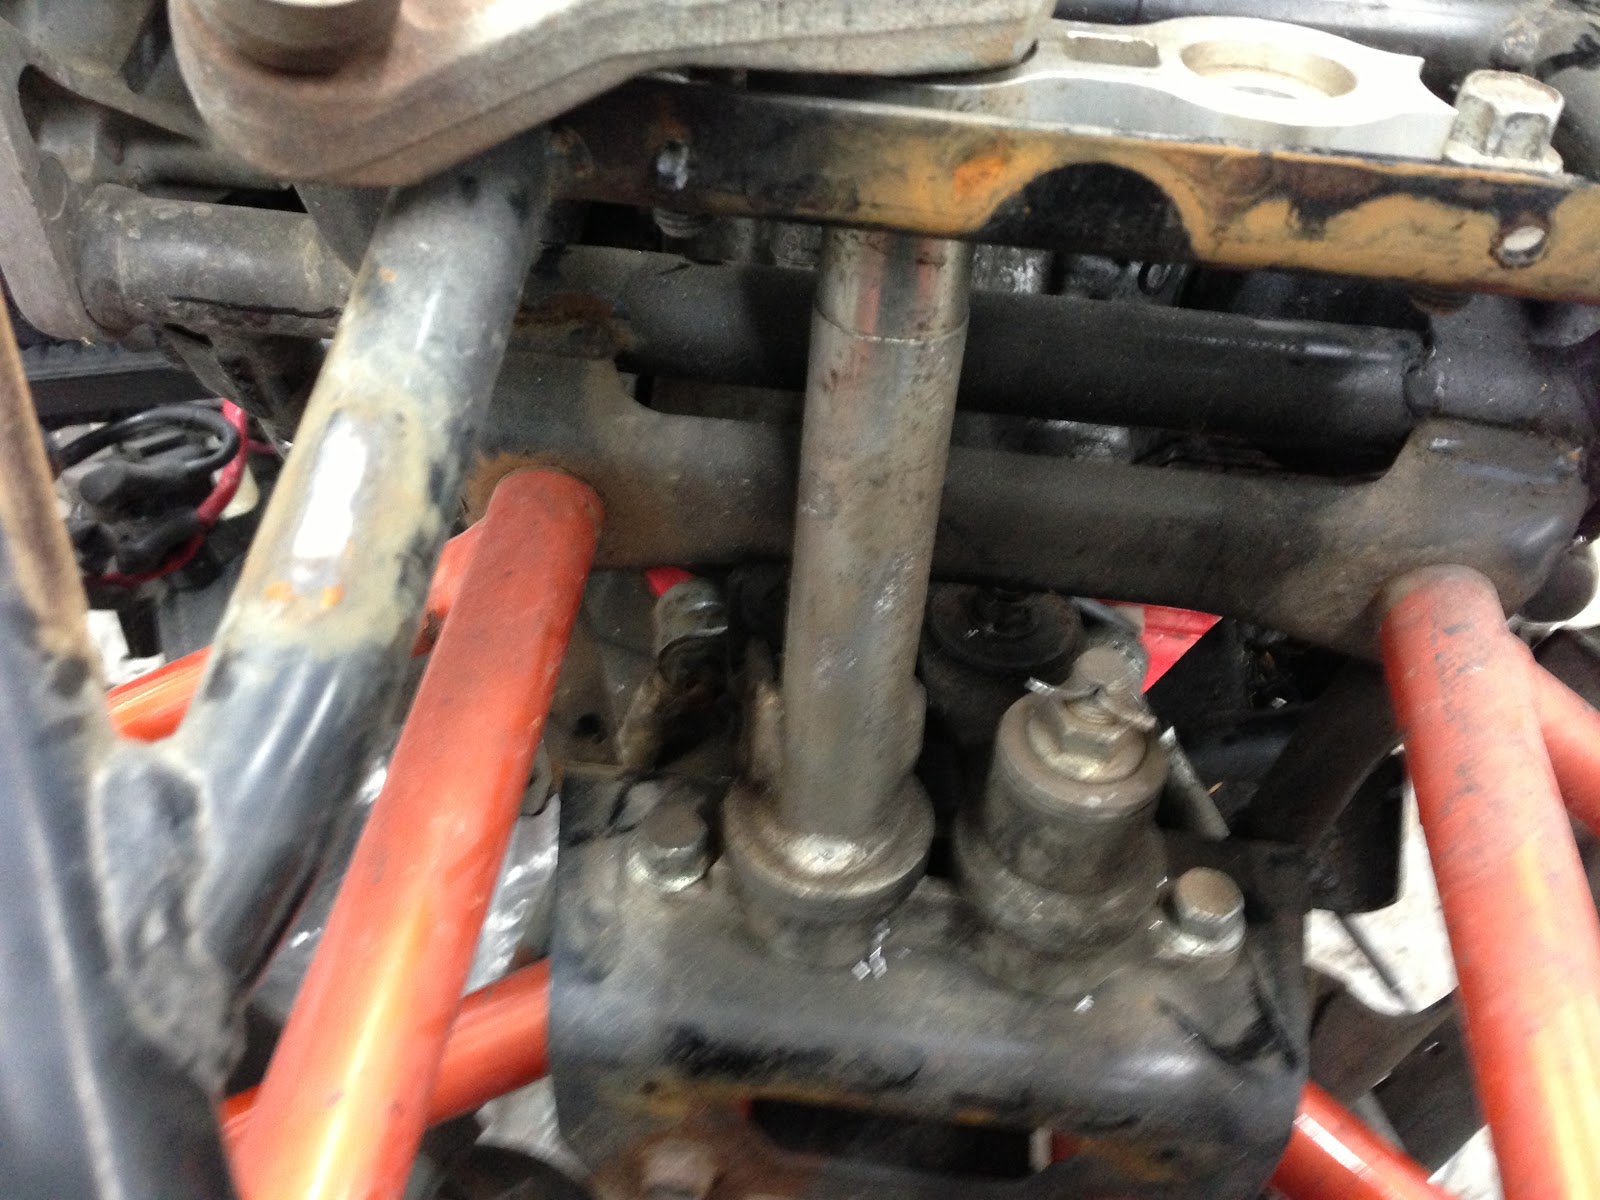
Here you can see we are going to start pulling the front end apart
The front steering is quite loose so we will be machining some proper spacers and bushings to tighten that all up
Here we have removed the steering rods and one of the lower a arms
We continued to work and remove the a arms and bushings
We now have the front end disassembled and are ready to start building new parts, for the machine
Here we now have access to the front end and will remove the lower steering controls and start machining up two sets of bushings for both machines
We can now start designing and building the new bumper
With both machines inside it makes it very easy to build parts on one machine and fit them on the other to ensure we don't have any fitment problems
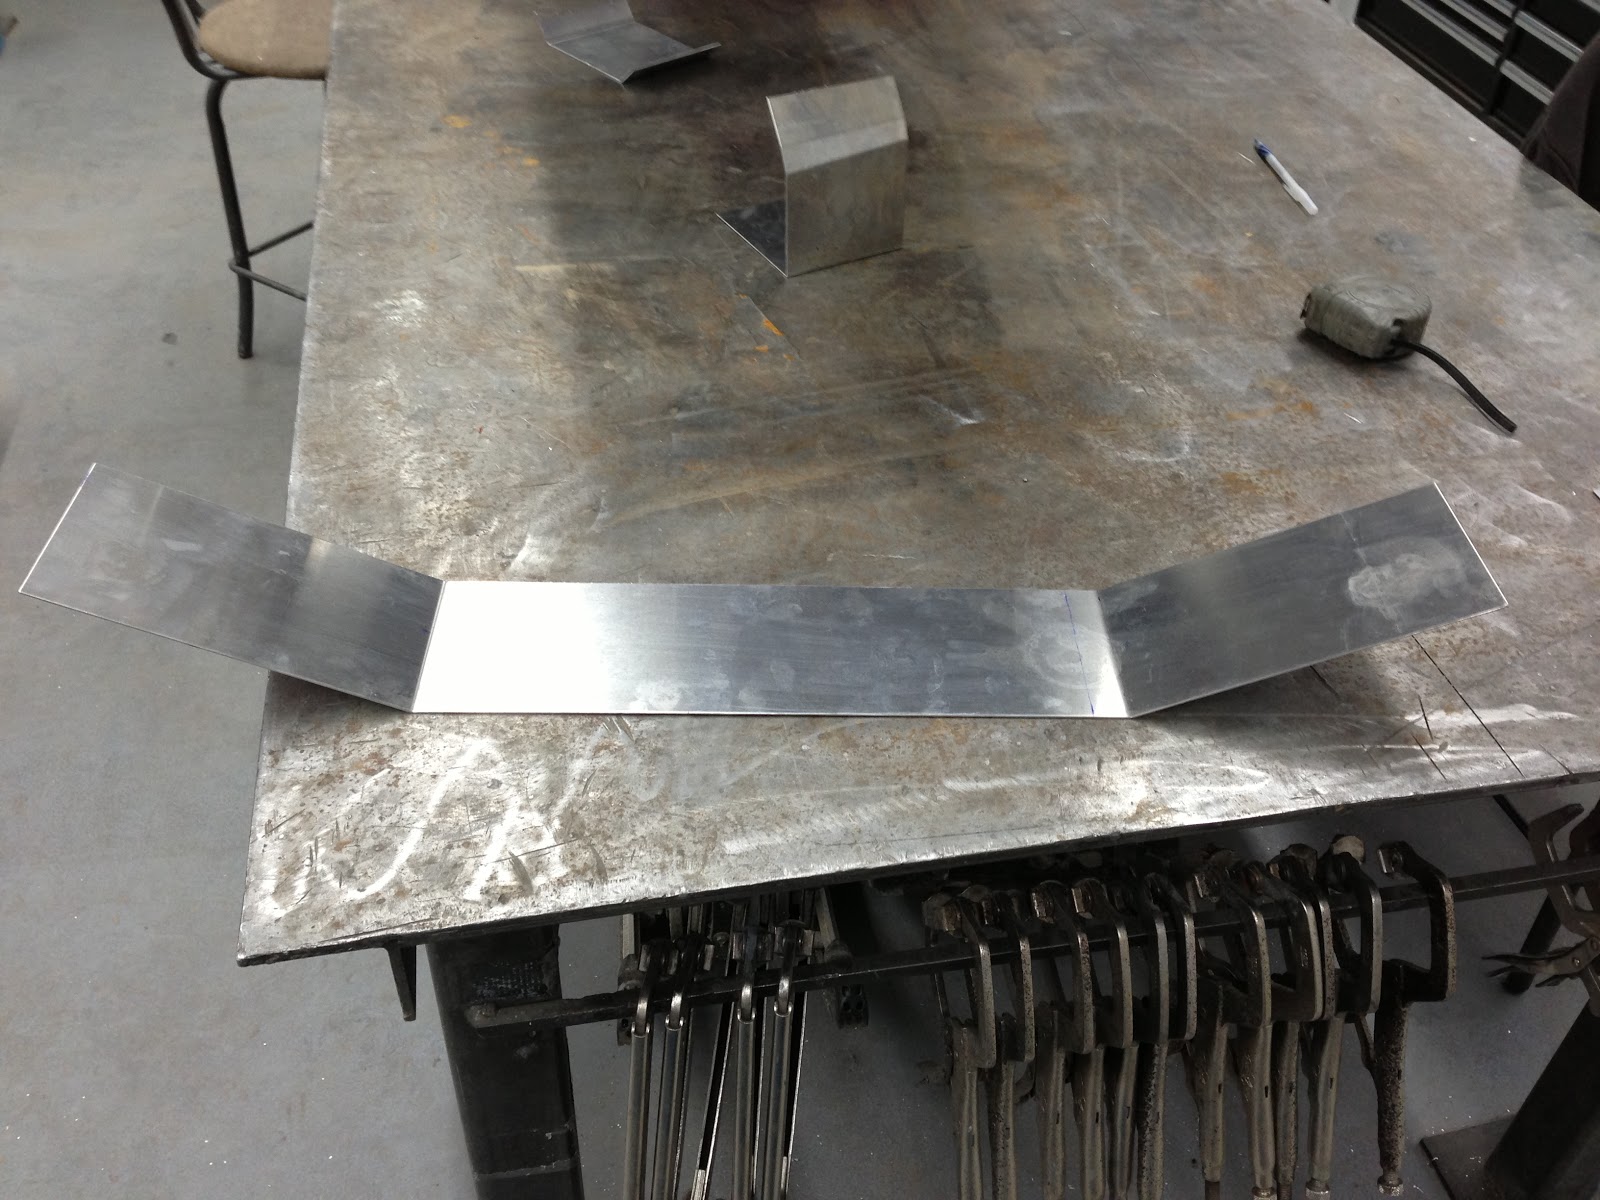
With riding season getting closer and our current work load we ended up selling one of the Phazers this will allow us to now focus on building the S/C machine in time for riding this season. So lets get on with it. Here we are using a sample piece so we can get the correct dimensions for the tunnel modifications.
Here we are using our press brake to form the sample piece.
Here is the first bend, you can see we have matched the factory angle of the Yamaha tunnel.
Here we are with the second bend complete, if there were no rivets on the tunnel this would fit nice and tight.
Here you can see the bent piece off of the sled.
After we determined the correct angles, we made another sample piece with both sides to ensure we get the correct width for the actual tunnel modification
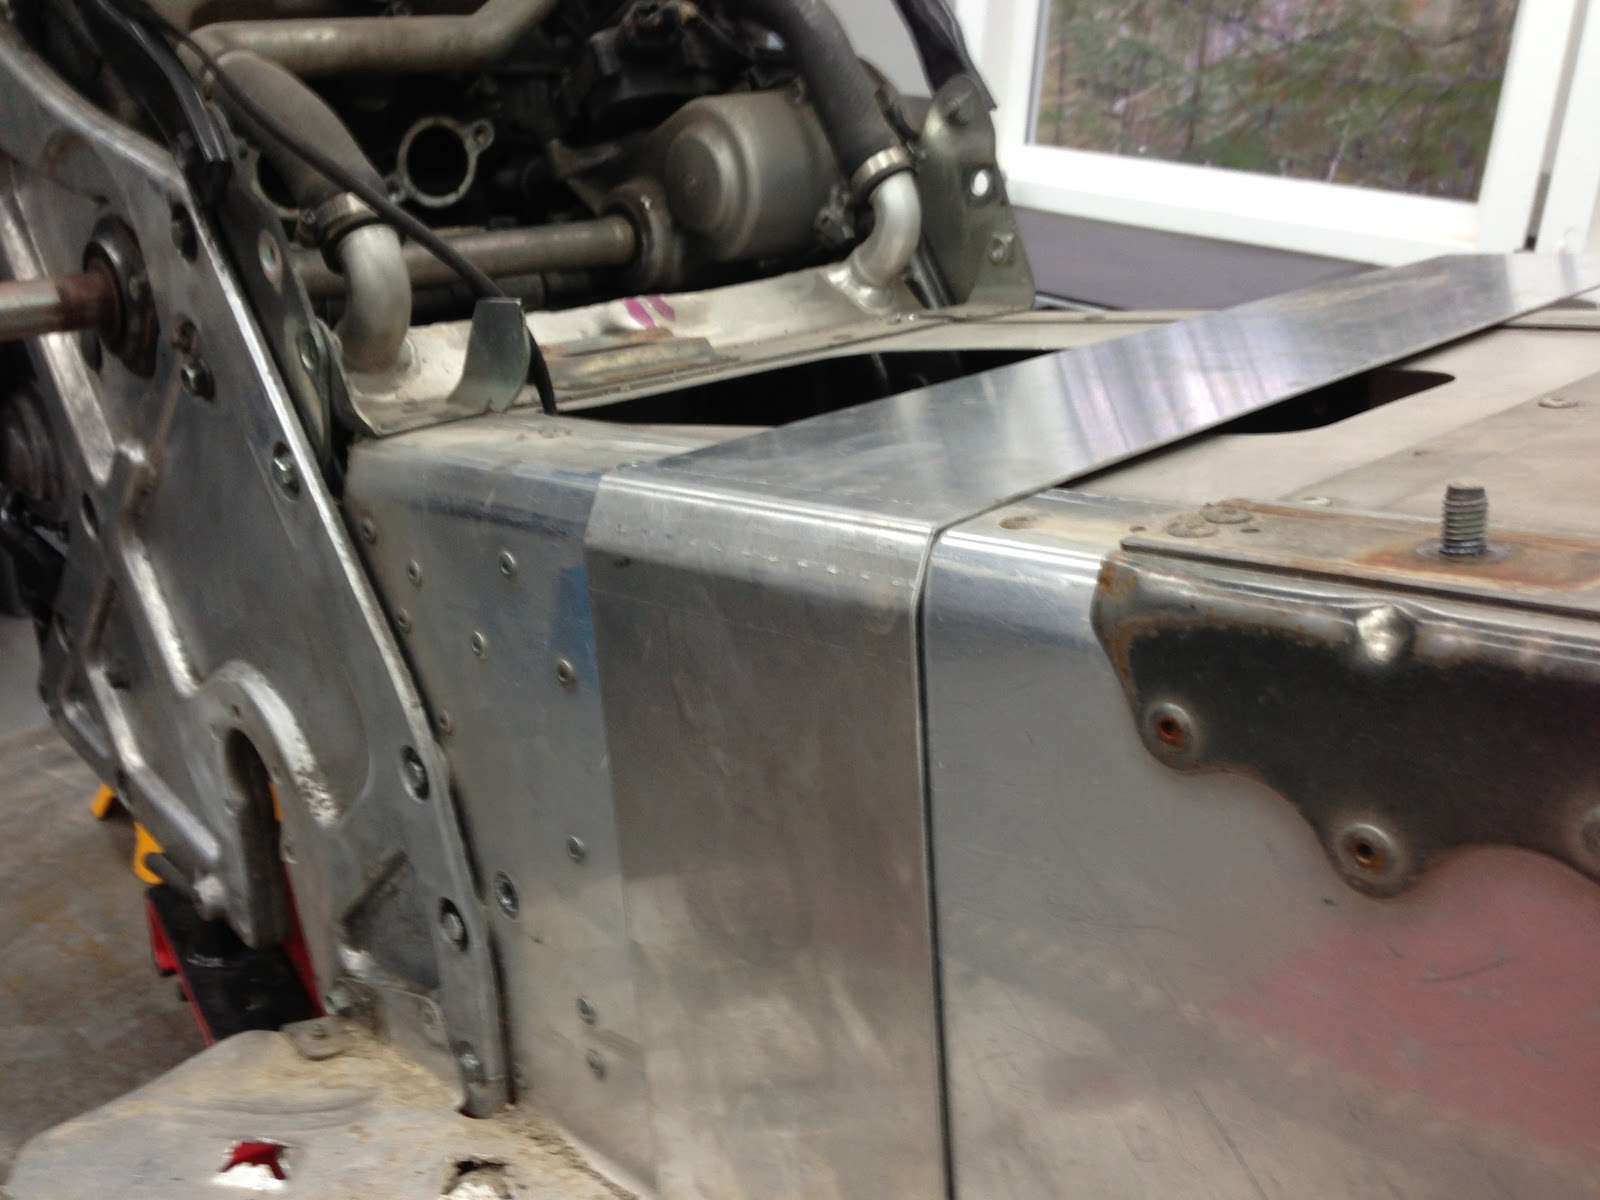
Here it is on the sled, you can see the factory tunnel is in rough shape so the new test piece doesn't fit exactly flat, but one the old tunnel portion is removed we will be in good shape.
Nice tight fit on both sides
Here is the completed sample piece
One for view of it fitting up nice and clean on the machine
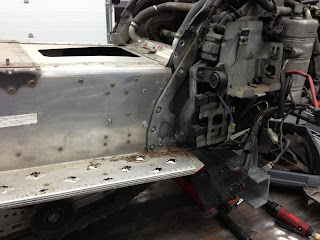
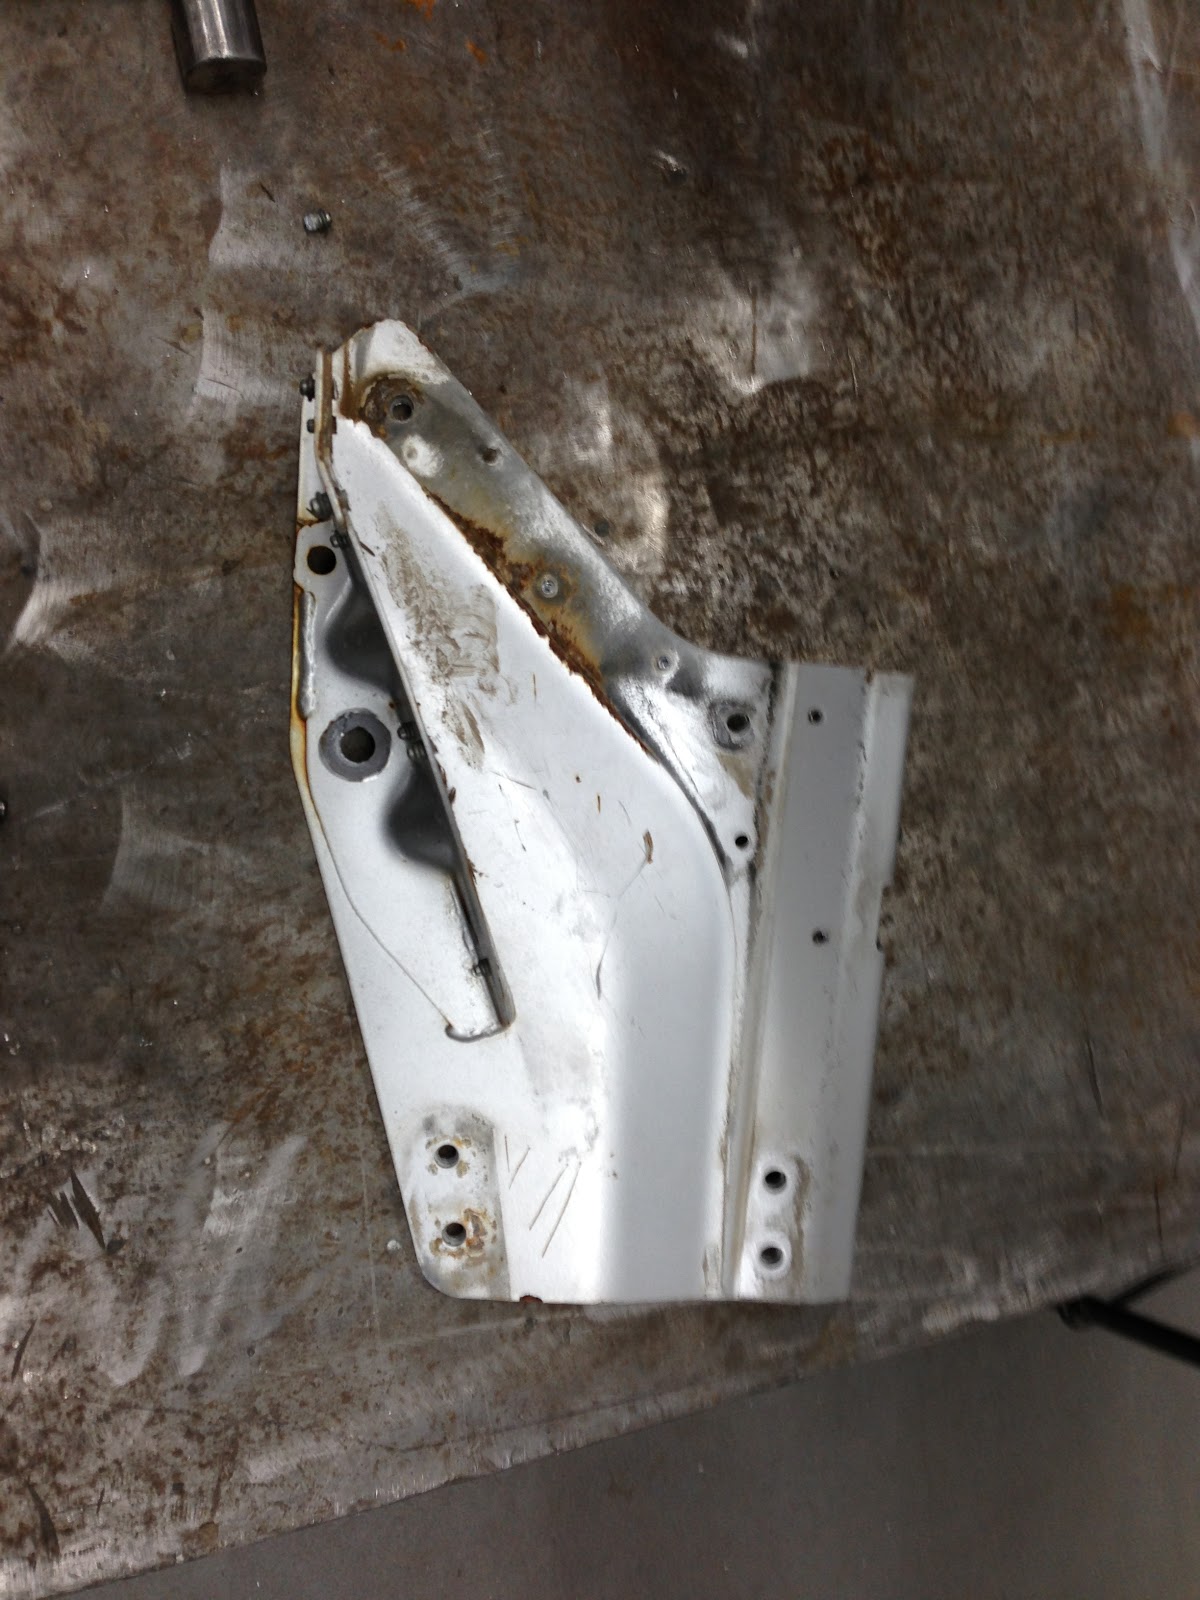
Here we started drilling out the metal plates getting ready to remove and discard them
Heavy chunk of steel now removed, never to be used again
One side removed time to more onto the other side
Looks much cleaner with these pieces of steel removed
Now we are ready to cut the running boards off and remove a good portion of the tunnel. To see more of this build follow this link to Phazer builds 2
|


Looks like a cool project Jeff !
ReplyDeleteHave fun, I want to come check out the shop sometime too !
Cheers
Dave